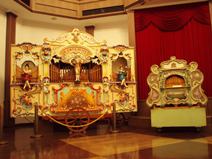
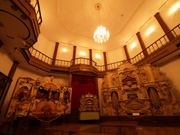
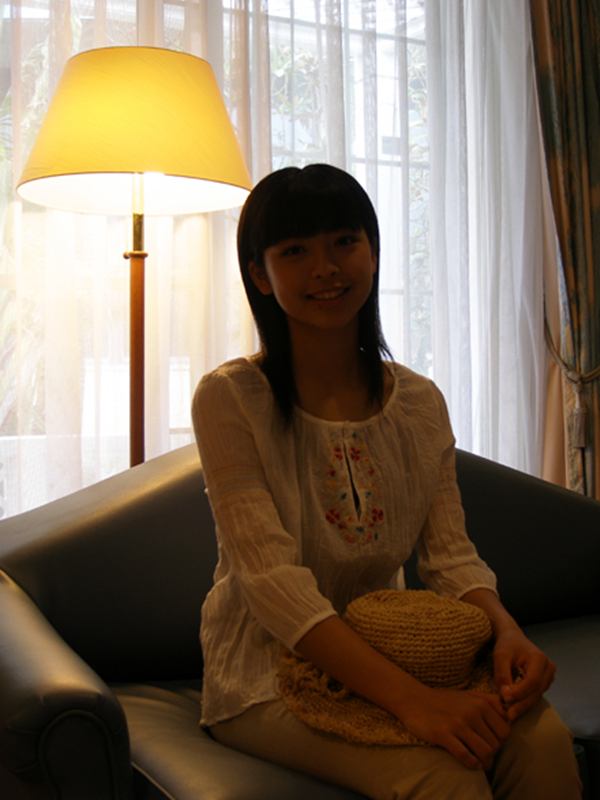
| Close to windows where the light shines in, the light from the outside is brighter than the light inside. A picture taken in this type of setting will result in the subject appearing silhouetted. |
|

Taking Pictures of People – Idoors 1
Set the flash to flash off to bring out the atmosphere of a room
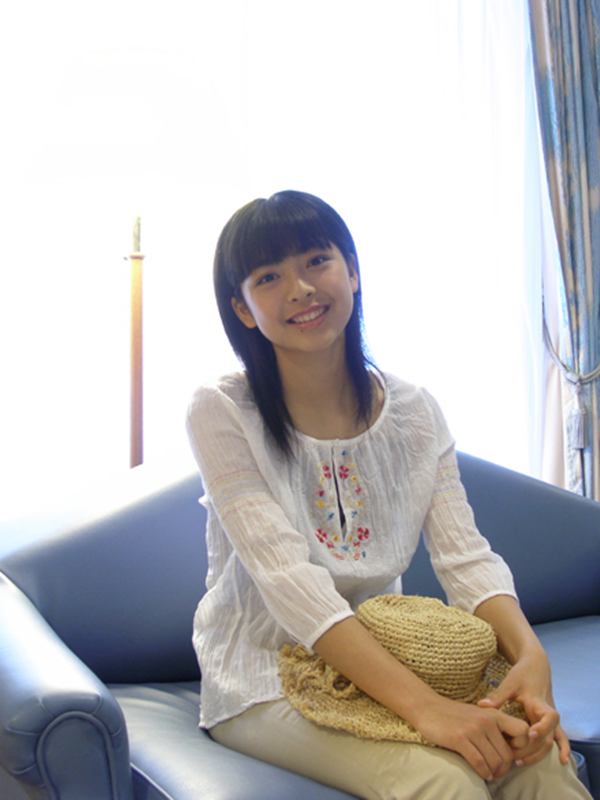
Close to windows where the light shines in, the light from the outside is brighter than the light inside. A picture taken in this type of setting will result in the subject appearing silhouetted. Using the flash illuminates the subject. However, there are times when this causes the picture to seem unnatural, with the subject appearing too bright or a deep shadow appearing in the background. In such cases, set the flash to flash off and adjust the brightness with the exposure compensation to take the picture.
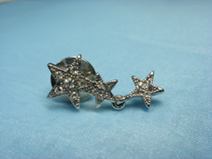
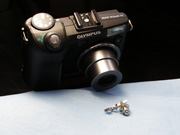
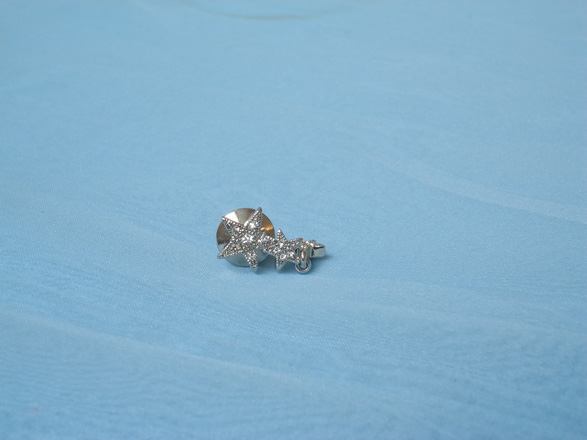
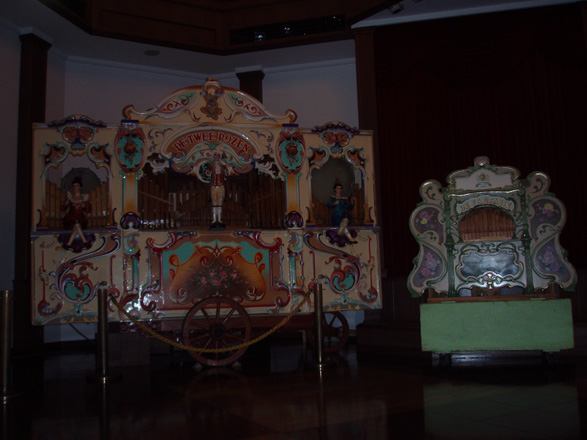
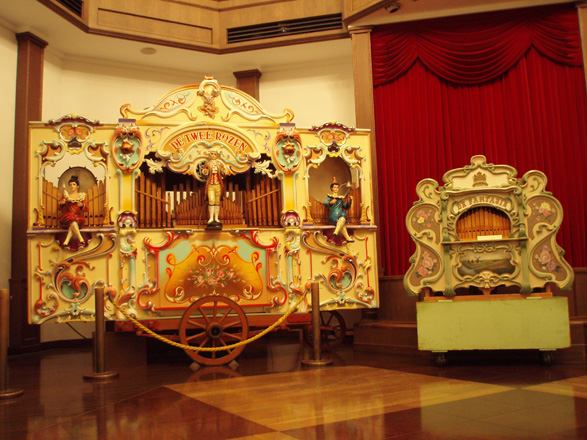
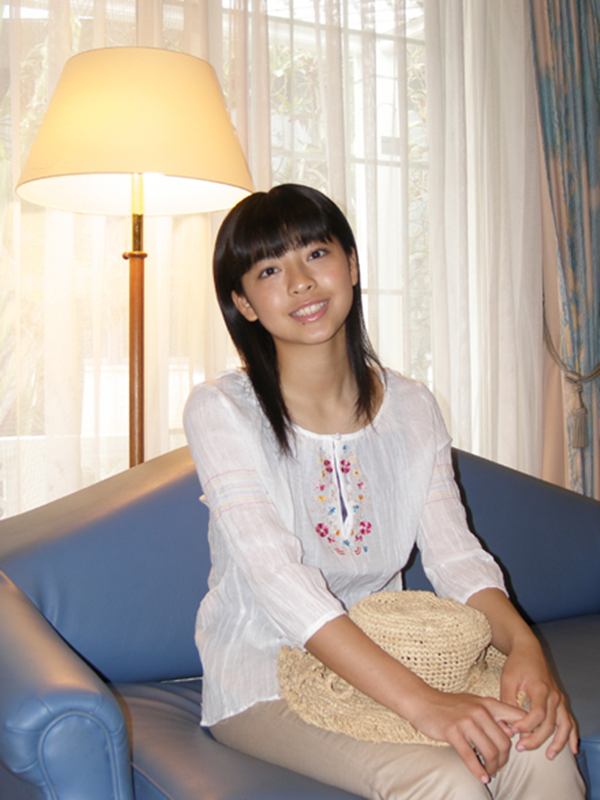
Compare the effects of the flash on the feel of the picture
 |
 |
 |
|||
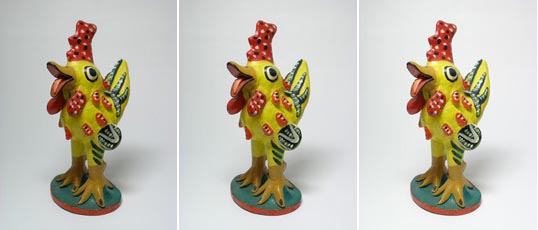
| Picture taken without flash | Picture taken using the flash | Exposure compensation at +2.0 |
Useful things to remember
- When taking pictures of people without the flash results in the subject’s face appearing dark, set the exposure compensation more towards the [+].
- You can try to adjust the white balance to [AUTO] or according to the type of lighting, or to take multiple pictures using various white balance settings.