| When you go on a trip and encounter wide landscapes or beautiful street scenes you want to take a picture that preserves that wide feel. |
|

Taking Pictures of Landscapes – Cityscapes 2
Using the Panorama Function
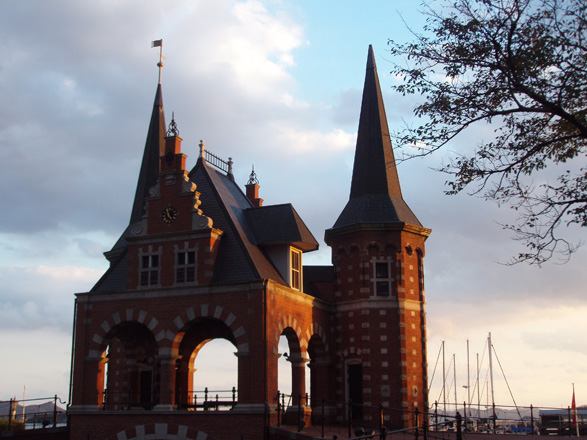
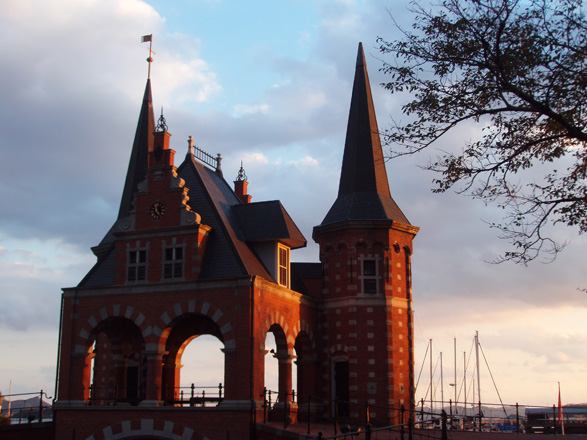
When you go on a trip and encounter wide landscapes or beautiful street scenes you want to take a picture that preserves that wide feel. But most of the times that wide look is lost because you can take only part of the scene, and even if you zoom out all the way towards W (wide-angle) the subject seems too small. In such cases, try using the panorama function.
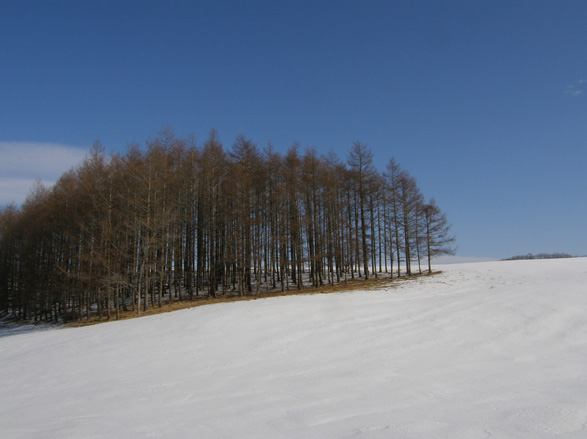
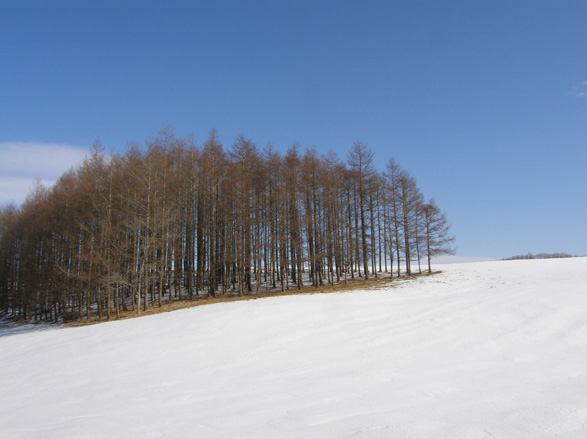
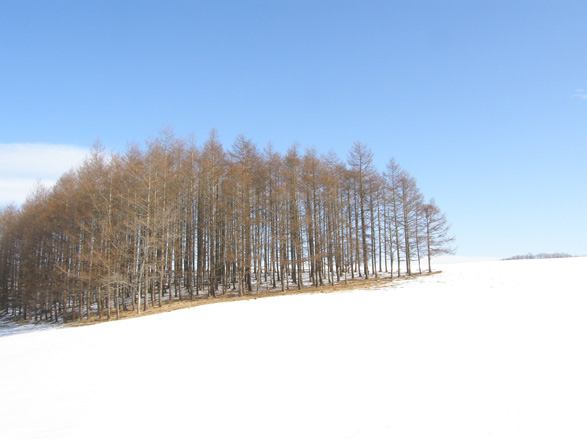
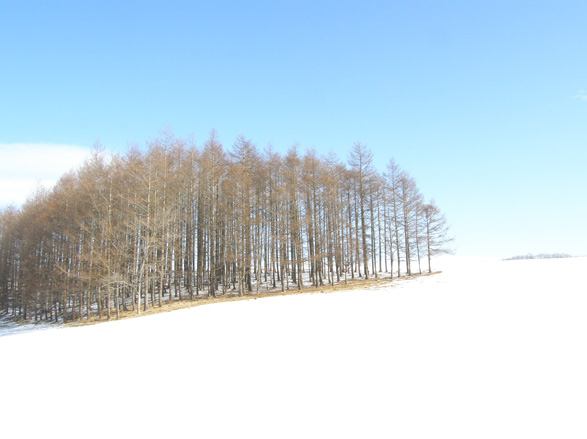
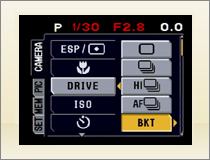
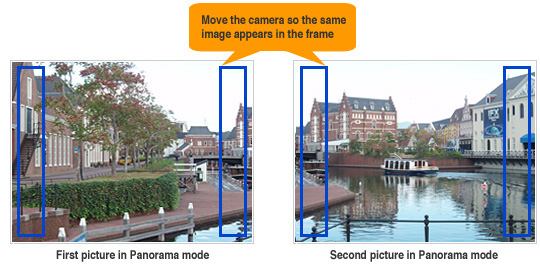
Select the [PANORAMA] mode from the camera’s menu to take the pictures. Take one picture, move the camera to take the next picture and repeat as necessary. Later, join the pictures in a computer using the provided software OLYMPUS Master. The software will recognize the pictures taken in Panorama mode and you can create a single panoramic picture.When you set the camera to [PANORAMA] mode, blue frames will appear on the monitor. Move the camera so the portion of the first and second pictures that is in the blue frame will appear at the same position.
 |
 |
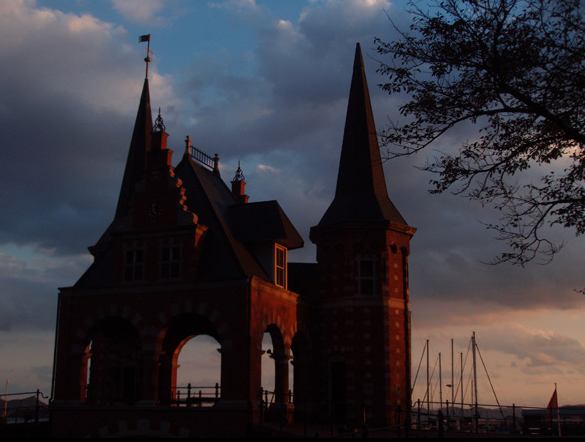
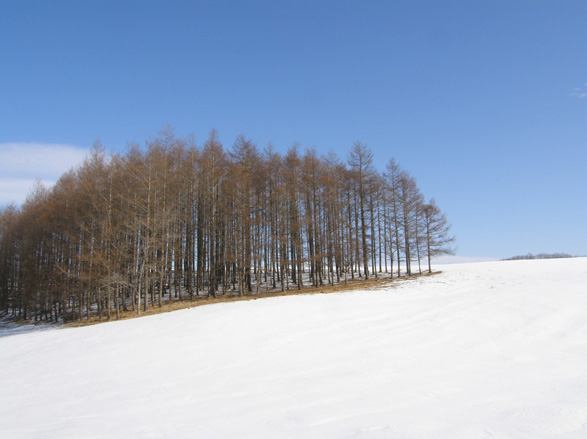
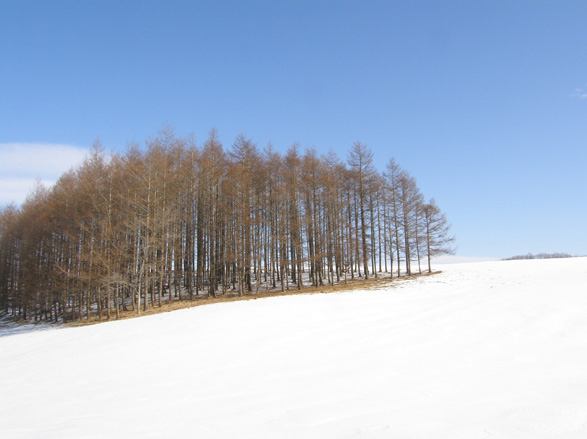
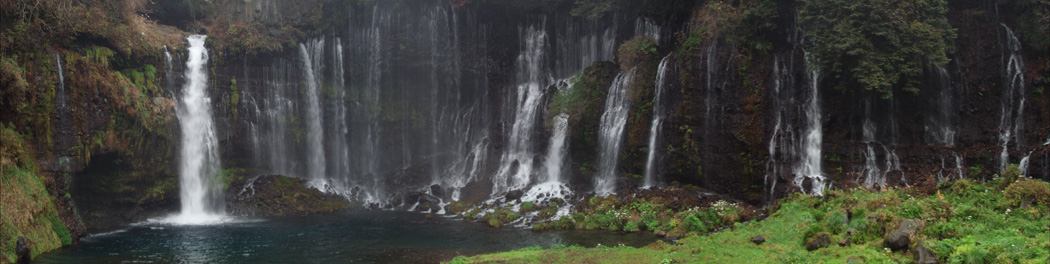
Join the pictures to a single panoramic picture using OLYMPUS Master
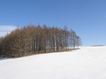
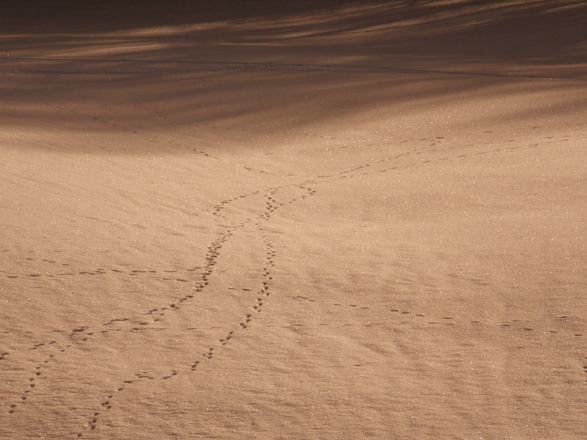
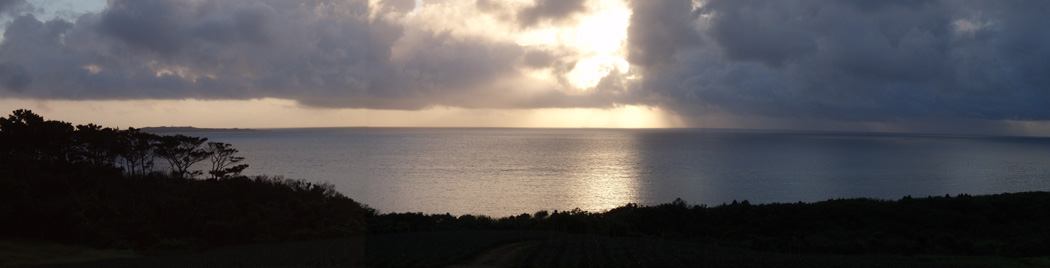
Other examples of panoramic pictures
 |
 |
Useful things to remember
- You can use the panorama function only when using xD-Picture Cards. Join the pictures using a computer after having taken the pictures. Install the OLYMPUS Master picture management software from the provided CD-ROM in advance.
- The software will automatically recognize the overlapping portions of the pictures, but you will get better results if you use a tripod when moving the camera to take consecutive pictures.