Zátiší 3 – Používání režimu Makro

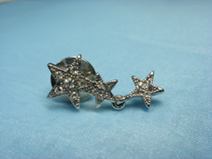
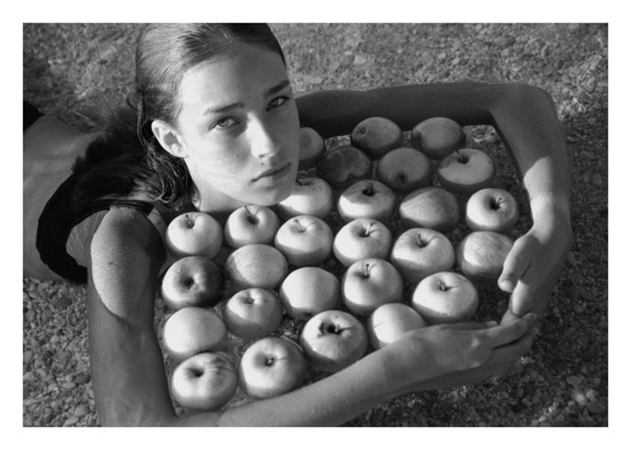
Pokuste se pořídit snímky krásných módních doplňků. Módní doplňky můžete nejen nosit, ale oblíbené kousky si můžete také vyfotografovat – ručně vyrobený náhrdelník nebo vzácný prsten, který jste dostali jako dar.

K fotografování malých objektů použijte režim Makro

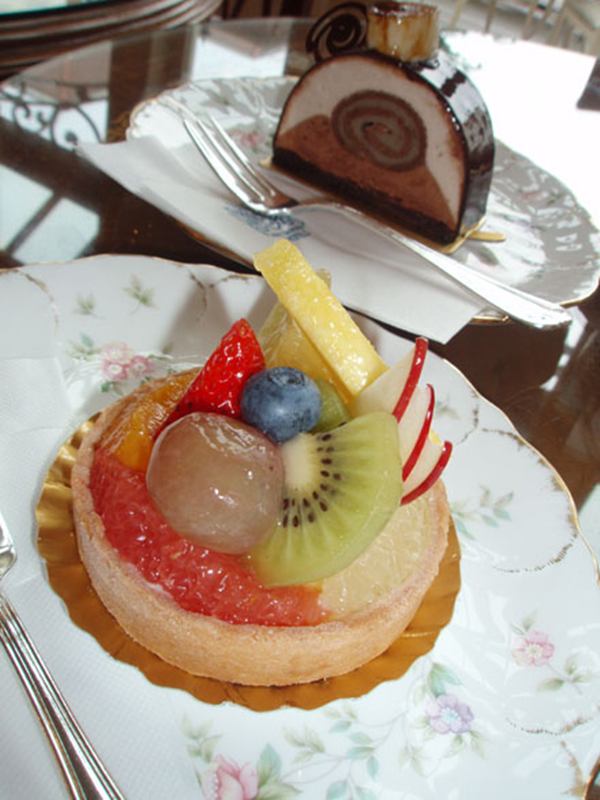
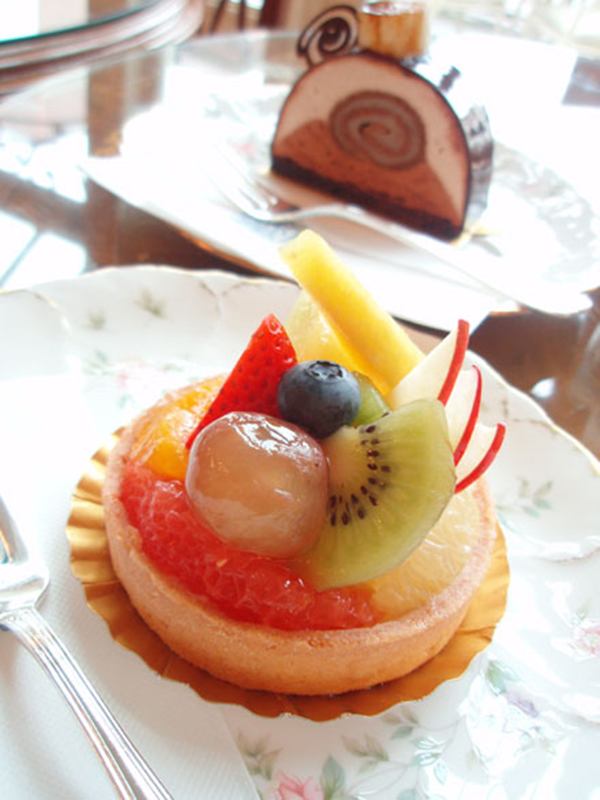
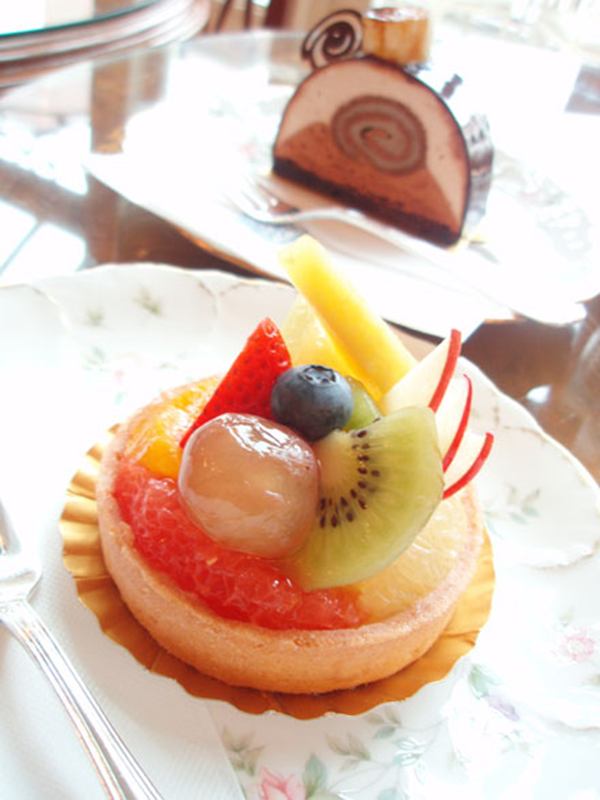
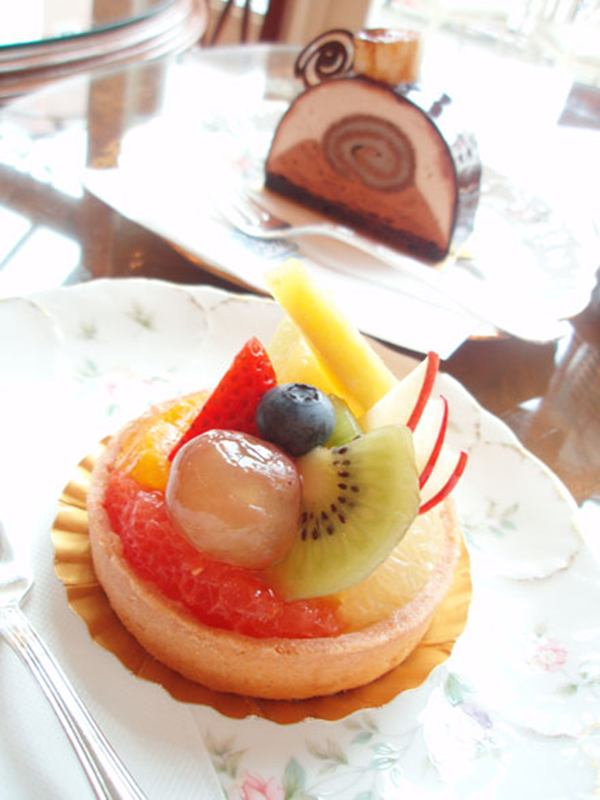
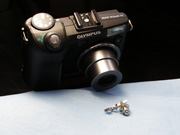
Při fotografování malých doplňků je důležité pořídit zvětšený snímek, který ukáže jejich skutečný vzhled. Pokud přiblížíte fotoaparát příliš blízko, budou malé objekty obvykle rozostřené. Místo toho můžete pro docílení detailních a ostrých snímků použít funkci makro.

Objekt bude na snímku tím větší, čím více přiblížíte fotoaparát. Když se ale dostanete příliš blízko, bude snímek rozostřený. S funkcí makro se můžete k fotografovaným malým objektům přiblížit více než obvykle. Když použijete režim Super Makro, můžete se přiblížit ještě více. Pomocí této funkce nejenže můžete fotografovaný módní doplněk zvětšit přes celou plochu snímku, ale můžete i například zvětšit jen jeden zajímavý detail. Využijte naplno svoji kreativitu a vyzkoušejte různé možnosti záběrů.

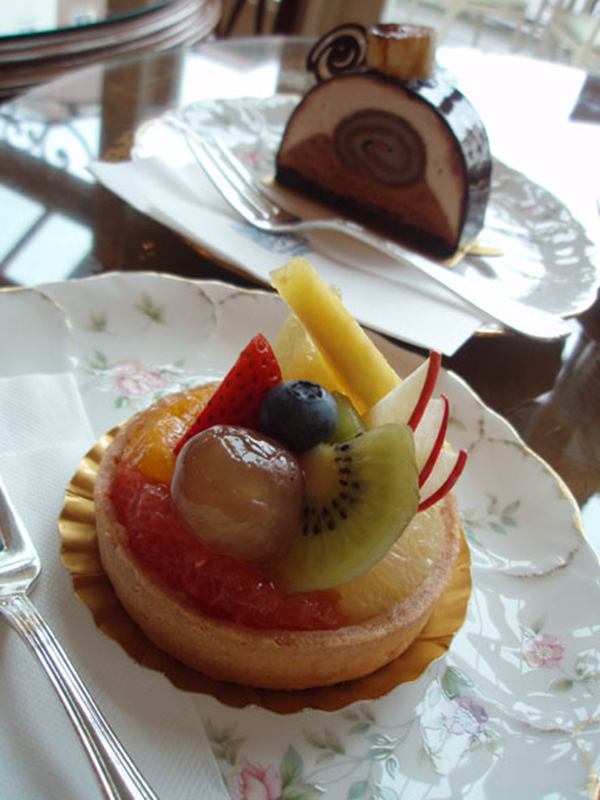
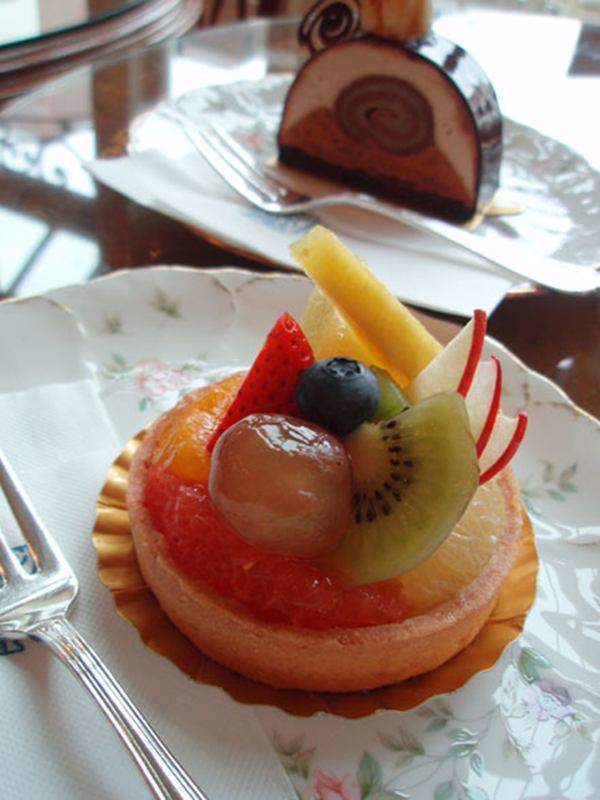
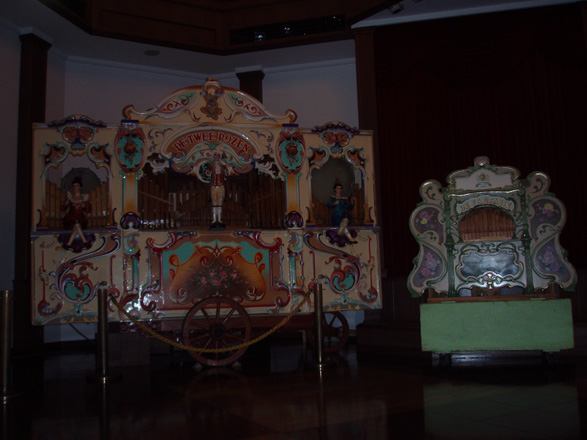
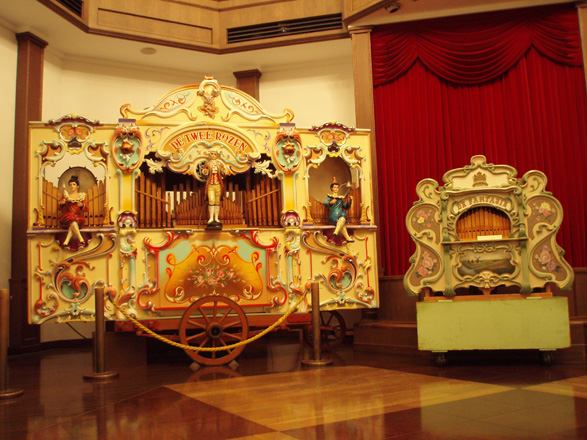
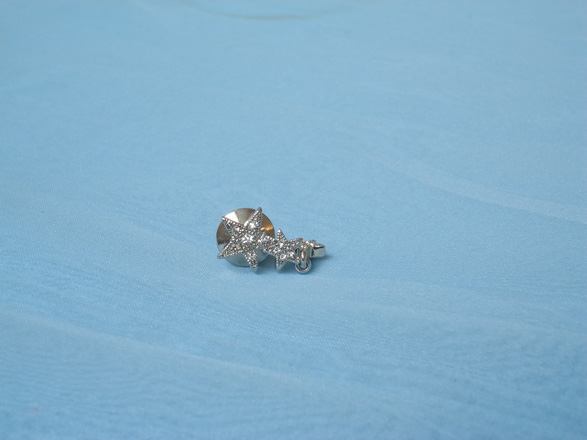
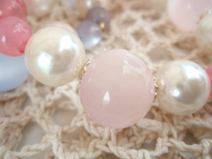
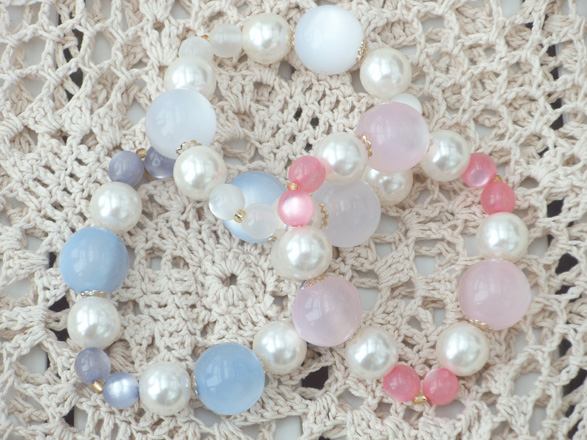
Porovnejte rozdíly mezi normálním snímkem a snímkem v režimu makro
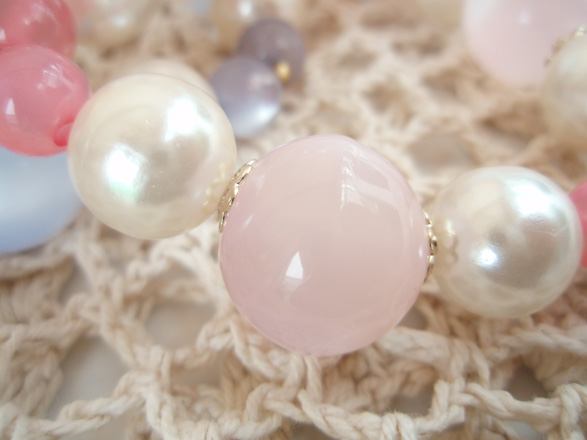
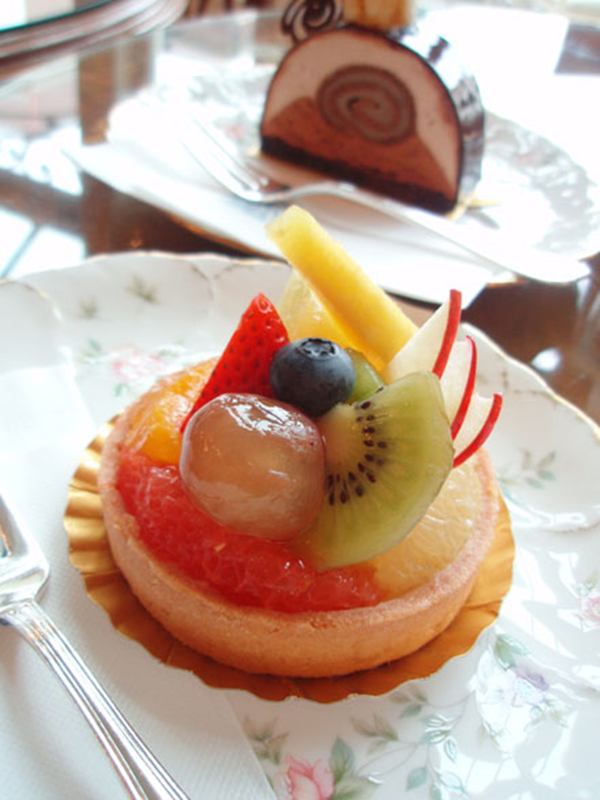
Normální fotografování: vypnuté Makro Fotografování v režimu Super Makro

Užitečné rady k zapamatování

  • V závislosti na typu fotoaparátu může být po přepnutí do režimu Super Makro záběr při fotografování z normální vzdálenosti rozostřený. Při normálním fotografování funkci makro vypněte.
  • V režimu Super Makro bude transfokátor nastaven na široký záběr. Mějte na paměti, že při této pozici transfokátoru mohou být objekty na krajích obrazu lehce zkreslené.

Cakes – Using the SCENE mode

Cakes and desserts on display at cafes or pastry shops can be as tempting and pleasing on the eye, no less than to the taste.    

Photo courses

Cakes – Using the SCENE mode

Cakes and desserts on display at cafes or pastry shops can be gorgeous and pleasing to the eye no less than to the taste. However many people have experienced taking pictures of a cake that looks delicious only to end up with not so appetising pictures. If the picture is not right, even if you show it around, it will fail to convey the deliciousness of the food. Try using the [SCENE] modes.

Set [SCENE] to [CUISINE]
[CUISINE], one of the [SCENE] modes, is very convenient for taking pictures of cakes and desserts. Settings are adjusted to really bring out the colors of the food and macro mode is used automatically, so you can get close to the subject to take the picture. Thanks to the slightly stronger colors it is much easier to take mouth-watering pictures of food and cakes.

By setting the [SCENE] mode to [CUISINE] the macro mode and color scheme are automatically set. Try getting as close as possible to the food to take the picture. The flash is usually set to [AUTO] so don’t forget to set it to [ (Flash off)]. In most cases, when you take pictures of food using the built-in flash, the food will not appear very tasty in the picture. Also note that food will look more delicious in the picture if the picture is taken slightly brighter than in real life. Try getting a brighter picture by adjusting the exposure compensation towards the [+].

Compare the effects of the different shooting modes


Try using exposure compensation in addition to the [SCENE] mode [CUISINE]


Useful things to remember

  • If you frame the picture so that a small part of the plate is left out of the picture instead of taking the whole full plate, the picture will be fancier and more attractive.
  • If the cake or dessert is very small, it may not appear large enough in macro mode. Try using super macro mode. The flash is automatically set to flash off.
  • When the flash is set to [ (Flash off)], blur is more likely to occur. Use a higher ISO sensitivity to avoid blur.

Still Lifes 5 – Using the SCENE mode

When taking pictures of objects in indoor exhibition halls, the use of the flash can be a nuisance.    

Foto kurzy

Still Lifes 5 – Using the SCENE mode

When taking pictures of objects in indoor exhibition halls, the use of the flash can be a nuisance. The operation sounds of the camera can be bothersome as well. In such cases, use the [SCENE] mode [MUSEUM] to take the pictures.

Avoid disturbing others — Use the [MUSEUM] mode
In this mode, the flash is set to flash off, and the operation sounds of the camera are muted. However, the ISO is not as high as in [INDOOR] or [AVAILABLE LIGHT] mode so be aware of camera blur.

Most museums and exhibition halls prohibit the use of cameras, but there are some exceptions. Even when you are allowed to take pictures, you do not want to disturb the people around you. You can turn off the flash and the camera’s operation sounds separately, but you can also do so at once by setting the [MUSEUM] mode. In this mode even when focus is achieved the camera will not beep, so remember to check if the AF confirmation mark on the monitor is lit.


An idea of the setting of the picture
Indoor conditions: The only light source
is the incandescent lamp or chandelier.
Without the flash blur is more likely to
occur.

Compare the effects of [MUSEUM] mode

     
Picture taken in Program Auto
(P) mode: The flash fired but did
not reach far enough.
Picture taken in [MUSEUM]
mode: The ISO sensitivity will be
set higher without hurting the
picture quality.

Useful things to remember

  • In [MUSEUM] mode, the ISO will not be as high as in [INDOOR] or [AVAILABLE LIGHT] mode. If there is not enough light, you will need to stabilize the camera to avoid camera blur.
  • With models that feature the image stabilizer function (CCD-shift image stabilization), such as the µ 750, this function can be effective for taking pictures in dimly lit places without affecting picture quality.

Still Lifes 4 – Using the Macro mode

You may want to take and keep pictures of your favorite gadgets and fashion accessories. But, especially with small jewelry, it is difficult to get the right close-up picture.    

Photo courses

Still Lifes 4 – Using the Macro mode

You may want to take and keep pictures of your favorite gadgets and fashion accessories. But, especially with small jewelry, it is difficult to get the right close-up picture using the zoom or even using the normal macro function. In such case, try using the Super Macro function.

Use the Super Macro mode to take pictures of small objects

With the Super Macro mode, you can get as close as a few centimeters to the subject but you cannot use the zoom or flash. Since camera blur is more likely to occur, stabilize the camera and use a desk lamp to illuminate the subject.
The macro mode is useful to take enlarged close-up pictures of small subjects. There are two types of macro – Macro and Super Macro mode. In macro mode you can use the zoom to adjust the magnification, but if the subject is too small it may not appear larger even with the zoom at telephoto. With the Super Macro mode, you can get as close as a few centimeters to the subject. Keep in mind that even very small movements of the camera will result in blur, so stabilize the camera.


An idea of the setting of the picture
Minimal distance to the subject using
Super Macro mode
· µ 720SW, µ 770SW, µ 750 and
similar cameras — 3 cm.
· SP-550UZ — 1 cm.

Compare the difference between macro and Super Macro

     
Zoom at telephoto in normal
macro mode
Close-up using Super Macro mode

Useful things to remember

  • The closer you get and the more you enlarge the subject, the more noticeable blur will be. Stabilize the camera by using a tripod.
  • If after stabilizing the camera, you find you cannot focus precisely on the point you want, set the AF mode to [SPOT] or [AREA]. You can assure the camera will focus on an exact point by placing the AF target mark over it.
  • If an unwanted shadow is falling over your subject, use a drawing paper or a similar white sheet of paper to reflect some of the light from the window onto your subject in order to reduce the shadow.

Still Lifes 3 – Using the Macro mode

Let’s try taking pictures of pretty fashion accessories. Apart from wearing them, you can also take pictures of your favorite fashion accessories.    

phot courses

Still Lifes 3 – Using the Macro mode

Let’s try taking pictures of pretty fashion accessories. Apart from wearing them, you can also take pictures of your favorite fashion accessories — a handmade necklace or that special ring you received as a present.

Use the Macro mode to take pictures of small objects
When taking pictures of small accessories, it is important to take an enlarged picture to really bring out their presence. Small objects will normally be out of focus if you bring the camera too close to them. Instead, you can use the macro function to get larger, in-focus pictures.
The subject will appear larger the closer you bring the camera; but if you get too close, the picture will be out of focus. With the macro function you can take pictures of small subjects getting closer than usual. When you use the Super Macro mode, you can get even closer. Using this function you can get not only pictures where your jewelry fills out the whole picture, but also magnify just one interesting part. So get creative and try different pictures.

Compare the difference between normal and macro shooting

   
  Normal shooting: Macro off Super Macro shooting

Useful things to remember

  • Depending on the model, when you set the camera to Super Macro mode, the picture may be out of focus at normal distances. For normal shooting turn off the macro function.
  • In Super Macro mode the zoom will be at wide-angle. Note that in this zoom position subjects around the periphery of the screen may appear slightly distorted.
  • Macro shooting allows you to take a close-up of the subject, but be careful since camera blur is more likely to occur.

Dívka s jablky

Fotografie, o které vám chci vyprávět, se může někomu zdát obyčejná, ale pro jednu dívku znamenala zásadní změnu v jejím životě. Tuto fotografii jsem pořídil před deseti lety ve městě Baška na ostrově Krk, na jadranském pobřeží.

Dívka s jablky

V letech 1995 až 2002 jsem žil v Praze, kam jsem se uchýlil po válce, která sužovala moji krásnou zem. Tam jsem taky hledal práci jako fotograf na volné noze, protože jsem nesehnal práci učitele němčiny, což byla moje profese v bývalé Jugoslávii. Navštívil jsem tedy jednu pražskou agenturu, abych se ucházel o nějakou fotografickou zakázku a tam mne požádali, zda bych jim mohl ukázat nějaké své portfolio. Ukázal jsem jim převážně mé černobílé fotografie lidí a života kolem mě. Když uviděli právě tuto fotografii (dívka s jablky), zastavili se u ní a zírali na ni jak na nějaký zázrak. Nevěděl jsem, co se v tu chvíli děje. Řekli mi, ať hned zavolám její mamince a aby ta dívka okamžitě jela do Vídně (nacházela se tam centrála pražské pobočky) na zkušební focení, že všechno zaplatí a že tam má přijet také její maminka. Tak se také stalo, zavolal jsem ještě ten den mamince té dívky a druhý den odjely do Vídně. Focení dopadlo nadmíru úspěšně a tu slečnu (Dijana) nakonec požádali, aby odjela ihned do Istanbulu na jednu módní přehlídku a chtěli po ní další a další focení.

Tehdy nemohla, protože musela chodit do školy, ale netrvalo to dlouho a věci nabraly rychlý spád. Dijana se rozjela do světa na základě jedné fotografie, kterou jsem v podstatě za jiným účelem ukázal tisíc kilometrů od jejího domova. Sledoval jsem pak její pozdější kroky a opravdu se z ní stala úspěšná topmodelka v módních centrech celého světa jako je Londýn – Miláno – Paříž – New York. Dodnes mám z toho hřejivý pocit.

Stanko Abadzic

Zátiší 2 – Změna korekce expozice

Při fotografování zátiší v interiéru máte dost času na změnu vašeho místa nebo polohy předmětu, až dosáhnete perfektního snímku přesně podle vašich představ. Fotografie, jakou si skutečně přejete vytvořit, také můžete dosáhnout změnou nastavení fotoaparátu. Velký vliv na výsledný vzhled snímku má zejména expozice, proto můžete zkusit pořídit několik snímků s různými hodnotami korekce expozice.

Změna korekce expozice pro zesvětlení snímku

Světlejšího, svěžího vzhledu předmětu dosáhnete nastavením režimu blesku na vypnutý blesk a korekcí expozice směrem k [+]. Vždy si prohlédněte pořízený snímek a podle potřeby zvolte trochu větší korekci. Abyste měli jistotu, že některý ze snímků „vyjde“ zcela podle vašich představ, můžete jich pořídit více, s různými nastaveními. Pokud světlo, které v interiéru máte k dispozici, nepostačuje, můžete fotografovat u okna, skrze které dovnitř prochází trochu denního světla.

Ačkoliv to záleží na konkrétním předmětu, dosáhnete většinou u zátiší světlejšího, svěžího vzhledu korekcí expozice směrem k [+]. Pořiďte několik snímků s různými hodnotami korekce expozice, jimiž dosáhne různých úrovní jasu. Můžete využít funkci auto bracketing (BKT), pokud jí je váš fotoaparát vybavený.

Porovnejte efekt různých hodnot korekce expozice

Bez korekce expozice Korekce expozice na +0.7
Korekce expozice na +1.3 Vše, co je v záběru, vypadá ve výsledku jako obyčejný, nevýrazný snímek

Věci k zapamatování:

  • Velmi atraktivní snímky můžete pořídit tak, že se místo na celek zaměříte pouze na jednu část scény.
  • Pokud po stabilizaci fotoaparátu na stativu nemůžete zaostřit přesně na požadovaný bod, nastavte AF MODE na [SPOT] nebo [AREA]. Zaostření na přesný bod můžete zajistit namířením záměrné značky AF ostření na tento bod.
  • Nežádoucí stíny dopadající na fotografovaný objekt můžete zmírnit odrazem světla od čtvrtky nebo podobného listu bílého papíru.
  • Světlo v interiéru je málokdy tak jasné jako při fotografování venku. Stabilizujte fotoaparát pomocí stativu nebo jiného podobného vybavení.

Still Lifes 2 – Using Exposure Compensation

When shooting table-top pictures indoors you can take your time changing the location or the position of the subject until you get that perfect picture you have in mind.    

Photo courses

Still Lifes 2 – Using Exposure Compensation

Everything is included in the frame resulting in an ordinary, featureless pictureFor table-top pictures, though it depends on the subject, you can get a lighter, fresher look by compensating the exposure towards the [+]. Take several shots compensating the exposure to get different brightness levels. In such cases, you can try using the auto bracketing function (BKT) if your camera has it.

Compare the effects of different exposure compensation values

   
No exposure compensation Exposure compensation at +0.7
 
Exposure compensation at +1.3 Everything is included in the frame resulting in
an ordinary, featureless picture

Still Lifes 1 – Using the SCENE mode

When shooting table-top pictures indoors you can take your time changing the location or the position of the subject until you get that perfect picture you have in mind.    

Photo courses

Still Lifes 1 – Using the SCENE mode

There are many occasions when you want to take still lifes, for example when shooting a picture for an auction site on the internet. Since it is a picture of a product, you want to take a picture that is as attractive and as close to reality as possible. When the picture is different from real life, the charm of the object may be lost in the picture. In most cases still life shots are taken indoors. You will need good lighting but if you use the camera’s built-in flash the shadows can be too hard and the results may not be so good.

Set [SCENE] to [AUCTION]
When you use the flash, the shadows can be too hard and the shape and color of the subject as well as its material texture may not come through very well. Try using a desktop lamp or a similar source of light to avoid hard shadows in the picture. In [AUCTION] mode 3 pictures are taken at different exposure levels. You can display them and select the picture you like best. The image size is automatically set to a smaller size, but it is sufficient for uploading to an internet auction site.


Compare the effects of different values of exposure compensation


From the left: exposure compensation at +0.3, +0.7 and +1.0

Useful things to remember

  • Depending on the light source you use, the colors may not appear natural. Adjust the white balance to match the light source.
  • If your camera model does not have the [AUCTION] mode, set the flash mode to flash off. If your camera has it, try setting the [DRIVE] mode to auto bracketing (BKT).
  • Even using a light source, indoor light conditions are seldom as bright as when shooting outdoors. Stabilize the camera by using a tripod or other similar equipment.

Zátiší 1 – Použití scénického režimu

Existuje řada příležitostí, při nichž potřebujete vyfotit zátiší – například při pořizování snímku pro internetovou aukci. Protože se jedná o snímek produktu, samozřejmě chcete snímek, který jej ukáže co možná nejatraktivnější a na kterém bude předmět vypadat co nejreálněji. Bude-li se snímek lišit od skutečnosti, může se na něm ztratit půvab předmětu. Zátiší se v naprosté většině případů fotografuje v interiéru. Budete potřebovat dobré nasvícení scény. Pokud ovšem použijete blesk vestavěný ve fotoaparátu, stíny na snímku budou příliš tvrdé a výsledek proto nemusí vypadat příliš dobře.

Nastavte [SCENE] na [AUCTION]

Použijete-li blesk, mohou stíny na snímku vypadat příliš tvrdě a dále nemusí dobře vyjít tvar a barvy předmětu a povrchová struktura jeho materiálu. Zkuste předmět nasvítit stolní lampou nebo podobným zdrojem světla a předejděte tak ostrým stínům na snímku. V režimu [AUCTION] se pořídí 3 snímky s různými úrovněmi expozice. Můžete je zobrazit a zvolit z nich ten, který se vám nejvíce líbí. Velikost snímku se automaticky nastaví na menší, ale přitom dostatečnou pro nahrání na server provozující internetové aukce.

Porovnejte efekt různých hodnot korekce expozice

Zleva: korekce expozice na +0.3, +0.7 a +1.0

Užitečné rady k zapamatování

  • V závislosti na použitém zdroji světla nemusí barvy na snímku vypadat přirozeně. Upravte vyvážení bílé tak, aby vyhovovalo světelnému zdroji.
  • Pokud váš typ fotoaparátu nedisponuje režimem [AUCTION], nastavte režim blesku na vypnutý blesk (Flash Off). Jestliže váš fotoaparát má funkci bracketingu, zkuste nastavit režim [DRIVE] na automatický bracketing (BKT).
  • Ani při použití světelného zdroje většinou nedosáhnete při fotografování v interiéru takové intenzity světla, jako při fotografování venku. Fotoaparát proto stabilizujte například uchycením na stativ.