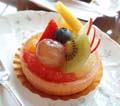
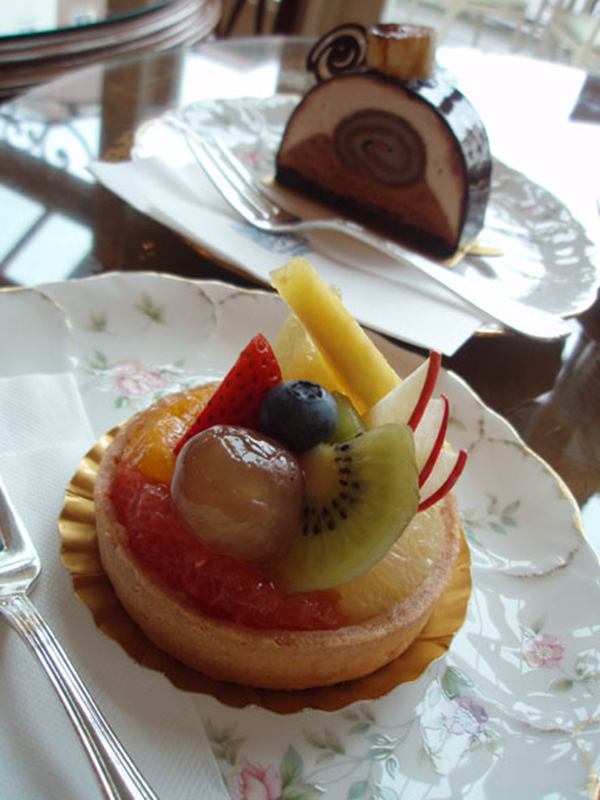
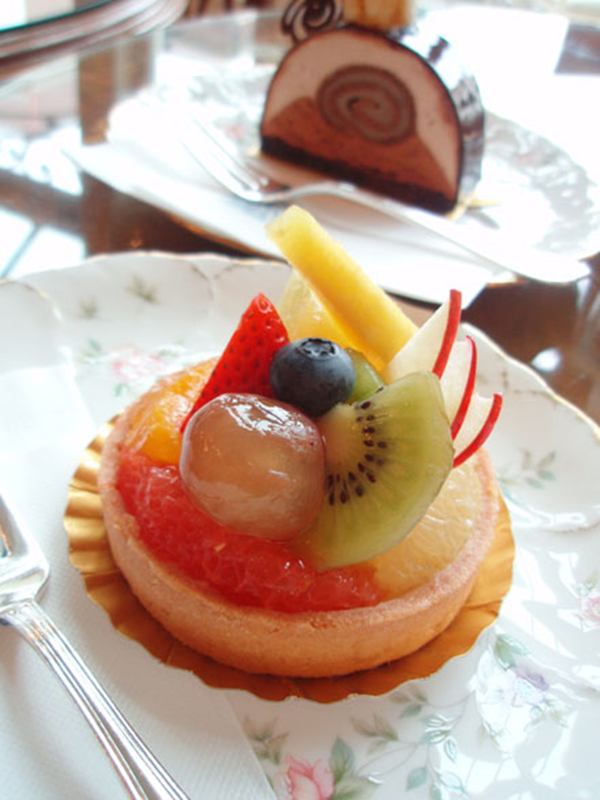
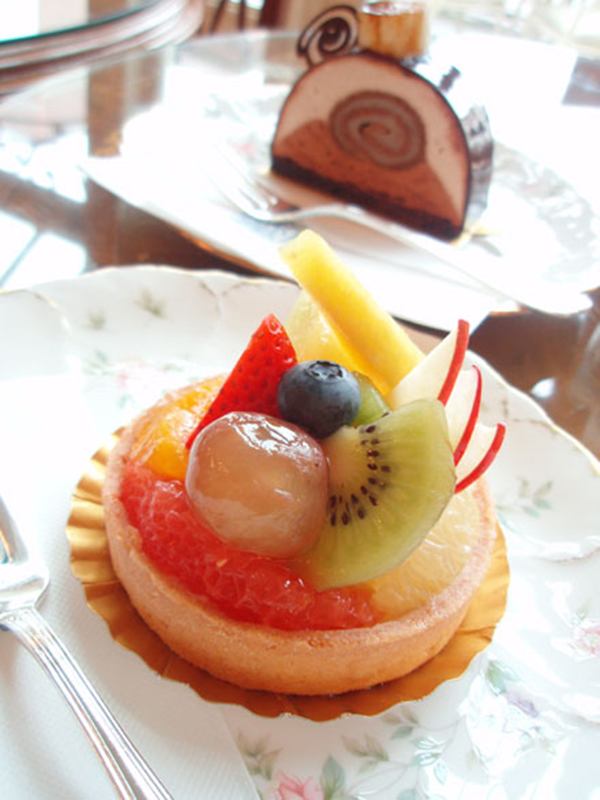
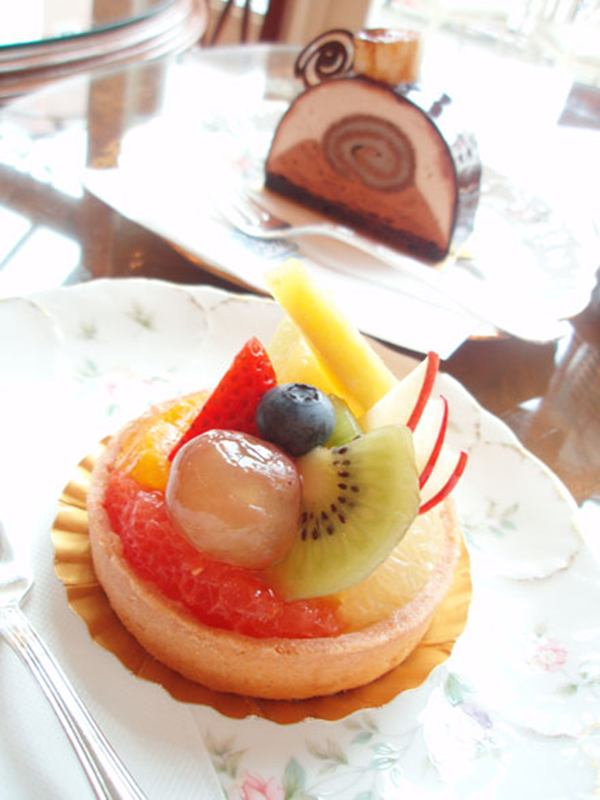
Dorty a zákusky ve výlohách kaváren a cukráren mohou nejen skvěle chutnat, ale jsou také pastvou pro oči. Nicméně mnoho lidí se setkalo s tím, že výsledný snímek zákusku, na pohled tak chutného, nebyl vůbec lákavý. A pokud není snímek dokonalý, nepodaří se vám zprostředkovat dojem chutného jídla. Zkuste použít některý ze scénických režimů [SCENE].
Nastavte [SCENE] na [CUISINE]
[CUISINE], jeden ze scénických [SCENE] režimů, je velmi vhodný pro fotografování dortů a zákusků. Nastavení jsou seřízena tak, aby snímek skutečně ukázal barvy potravin, a automaticky je zapnut režim makro, takže se při fotografování můžete k objektu přiblížit na velmi malou vzdálenost. Díky o něco sytějším barvám je mnohem snazší pořídit obrázky potravin a zákusků, při kterých se vám budou sbíhat sliny.
Vyberete-li [SCENE] režim [CUISINE], zapne se automaticky režim makro a nastaví se odpovídající barevné schéma. Při fotografování potravin se pokuste dostat co nejblíže. Blesk je obvykle nastaven na [AUTO], takže jej nezapomeňte nastavit na Vypnutý blesk. Ve většině případů nevypadá jídlo fotografované vestavěným bleskem na snímku příliš lákavě. Povšimněte si také, že jídlo bude na snímku vypadat mnohem chutněji, pokud je snímek vyfotografován o něco jasnější než ve skutečnosti. Zkuste vyfotografovat jasnější snímek nastavením korekce expozice směrem k [+].
Porovnejte efekt různých režimů snímání
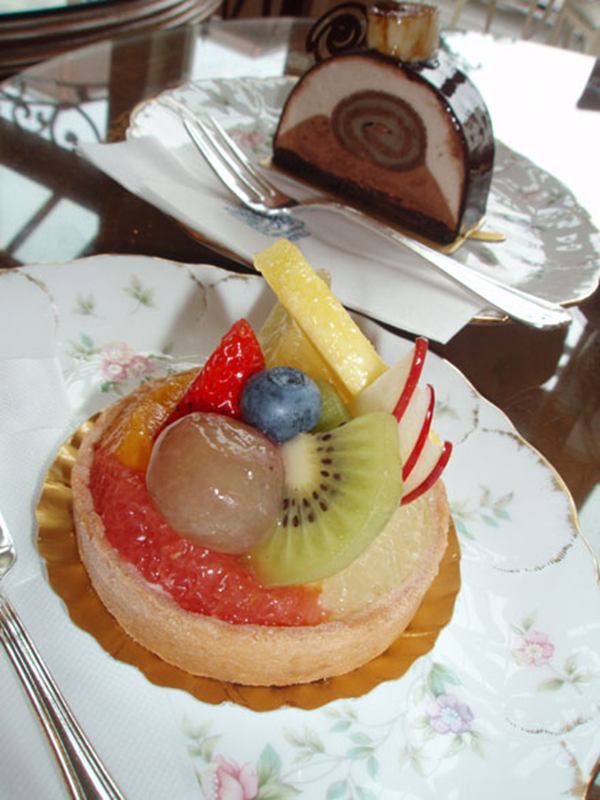 |
 |
 |
Spolu se [SCENE] režimem [CUISINE] zkuste použít korekci expozice
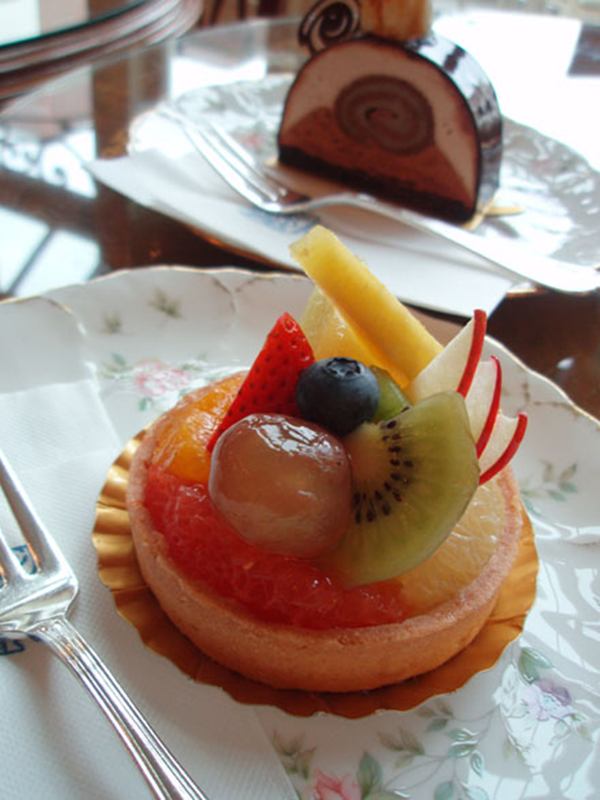 |
 |
 |
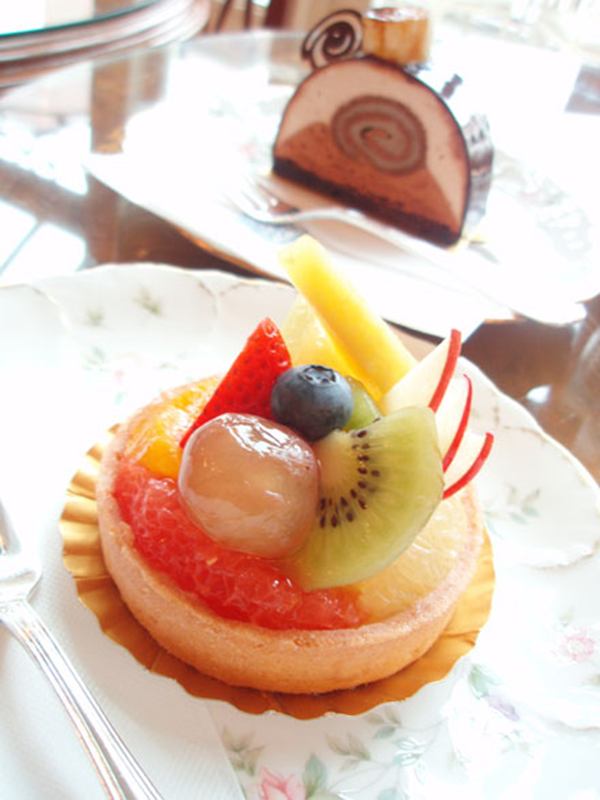 |
 |
Co je dobré vědět
- Pokud zakomponujete snímek tak, aby namísto záběru celého talíře byla malá část talíře mimo obraz, bude snímek přitažlivější a atraktivnější.
- Jestliže je desert nebo zákusek velmi malý, nemusí se v režimu makro zobrazit dostatečně velký. Zkuste použít režim super makro (
 ). Blesk je automaticky nastaven na vypnutý blesk.
 - Když je blesk nastaven do režimu [
 (Vypnutý blesk)], je větší nebezpečí rozmazání snímku. Rozmazání snímku předejděte použitím vyšší citlivosti ISO.