Federico Ciamei, Návrhář, Itálie
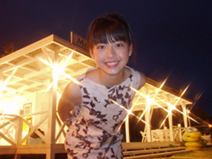
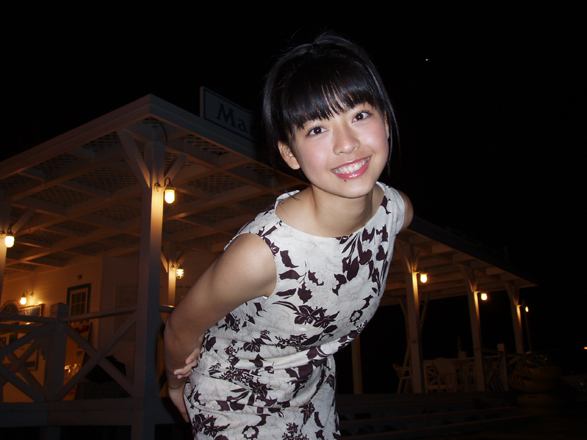
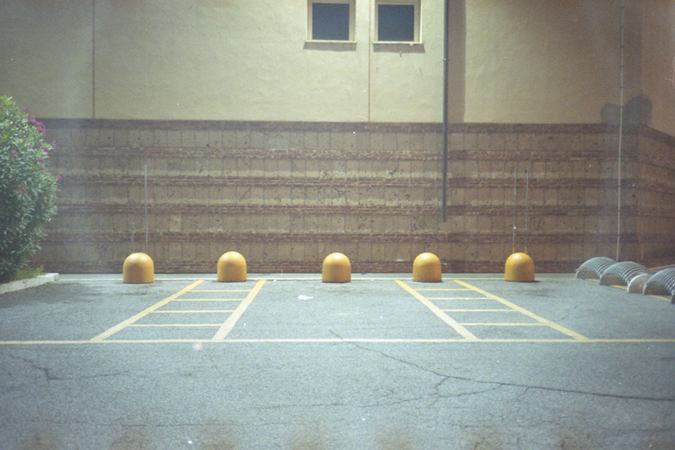
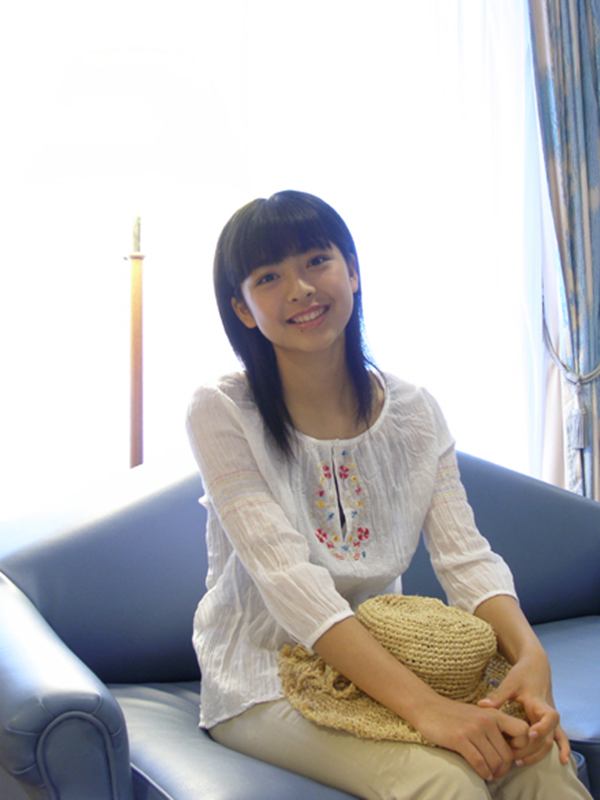
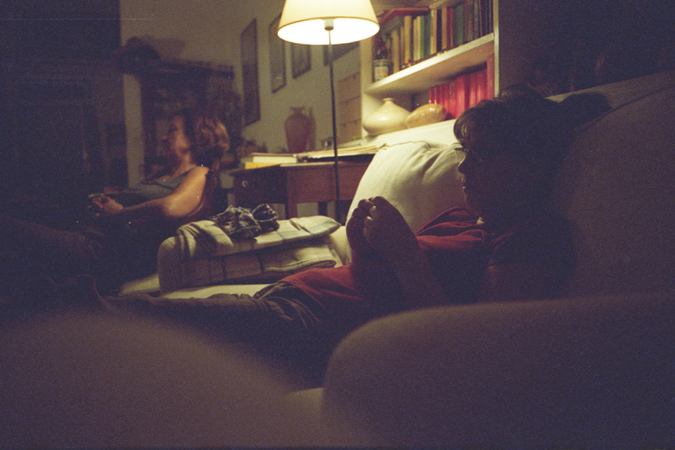
Když před pár měsíci dorazil do redakce týden italského návrháře Federica Ciameie, tak se na chvilku zastavil čas. Všichni, i ti zasvěcení, se kolem fotografií seběhli a tiše se zatajeným dechem zírali na nejkvalitnější monitor. V prvních vteřinách, a později i minutách, nebylo totiž ani trochu jasné, zda se jedná o jakýsi falešný set složený z barevných fotografií ze 70., 80. let, či o současné fotografie té nejhorší technické kvality a nebo o provokaci mířenou na kvalitní digitální přístroje schopné ultra ostrých a kvalitních záznamů. Nic z toho nakonec nebyla pravda. Dokumentární pojetí tohoto nebojím se říct umělce bylo absolutně výjimečné, pracovalo s atmosférou scény více než s čímkoliv jiným, čemu dnešní digitální svět dává přednost! Barevně odsycené snímky s častou uměleckou expoziční chybou, ale záměrně vybrané a komponované tak, že nás přímo vtahují do děje, byly naexponovány na negativ a prošly chemickým procesem(C41), který dnes už nikomu nic neříká. Pojďme se tedy vrátit o nějaký čas „zpět do budoucnosti“.
Váš týden se absolutně vymyká tomu, co jsme prozatím obdrželi. A to především způsobem, jakým byl zaznamenán a který jej činí uměleckou záležitostí. Co Vás k tomu vedlo?
Fotografování mě začalo přitahovat již v mládí, když jsem používal tátovu 35 mm zrcadlovku. Když se poté objevily počítače a internet, okamžitě jsem jim propadl: BBS, ASCII malování, AT příkazy, poté web, grafický design, html, flash. V Itálii jsme s přítelem jako jedni z prvních odstartovali webové designové společnosti a na fotografování jsem si vzpomněl až když se digitální fotografie stala zcela běžnou. Koupil jsem si Olympus Camedia, který uměl ukládat obrázky na paměťovou kartu a opět jsem se zamiloval. V roce 2003 jsem si vytvořil vlastní fotoblog (http://federicociamei.it/fotodiario/) a nahrával jsem na něj své fotografie až do roku 2006, kdy se začal běžně užívat flickr a další fotografické sítě.
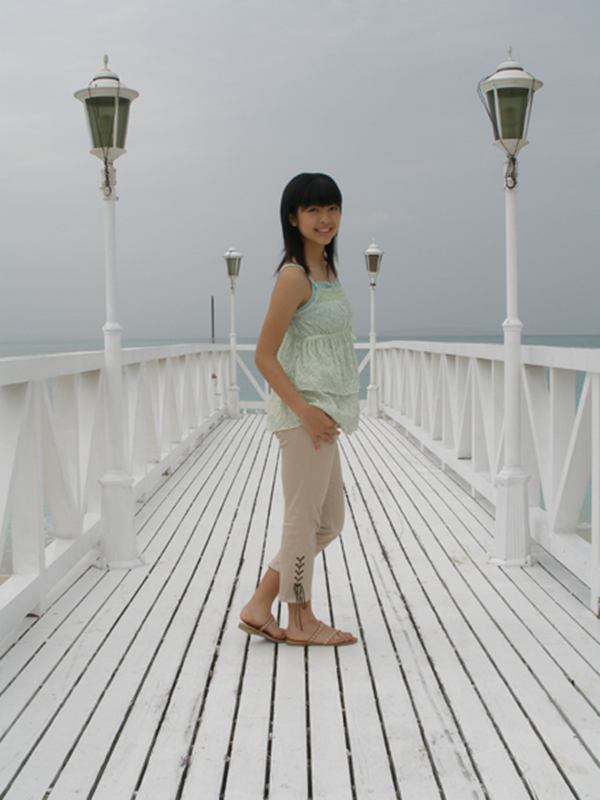
V současné době zkouším analogové fotoaparáty, které mají 35mm a střední formát. Mezi mé favority nyní patří Yashica T5, který jsem používal i na nafocení svého týdne života, jelikož je malý a dobře zaostřuje a pak také Fuji 645ga. Používám teď také Mamiyu 7, ale je příliš brzy na to, abych o něm mluvil. John Szarkowski v úvodníku příručky Eggleston´s Guide napsal, že fotografování je metoda optického upravování. Myslím, že práce s analogovým fotoaparátem mě nutí omezovat úpravy a to je pro mne jenom dobře.
Ve Vašem profilu uvádíte, že jste návrhář. Z Vašeho nafoceného týdne je i velice dobře patrné, že máte umělecké cítění. Zajímalo by nás, čeho jste návrhář?
Před deseti lety jsem začal pracovat jako web designer. Miloval jsem práci Designer´s Republic, Mika Pattersona, Yugo Nakanuta a všech es designu té doby. Věnoval jsem se všemu možnému: od hudebních videoklipů (http://www.youtube.com/watch?v=RDdc4WPY_SY) přes webové stránky bankovních společností po expozice na bienále v Benátkách. Mám rád proces designu, ale fotografování je mi bližší. Líbí se mi, že některé detaily jsou neurčité a mimo mojí kontrolu a také jsem už unavený z toho věčného vysedávání u počítače:o) Takže teď pomaloučku měním své zaměření a snažím se o to, aby si mne mí dlouholetí klienti najímali i na fotografování.
Jakým způsobem své fotografie zpracováváte a skenujete? Probíhají po skenování ještě nějaké další úpravy?
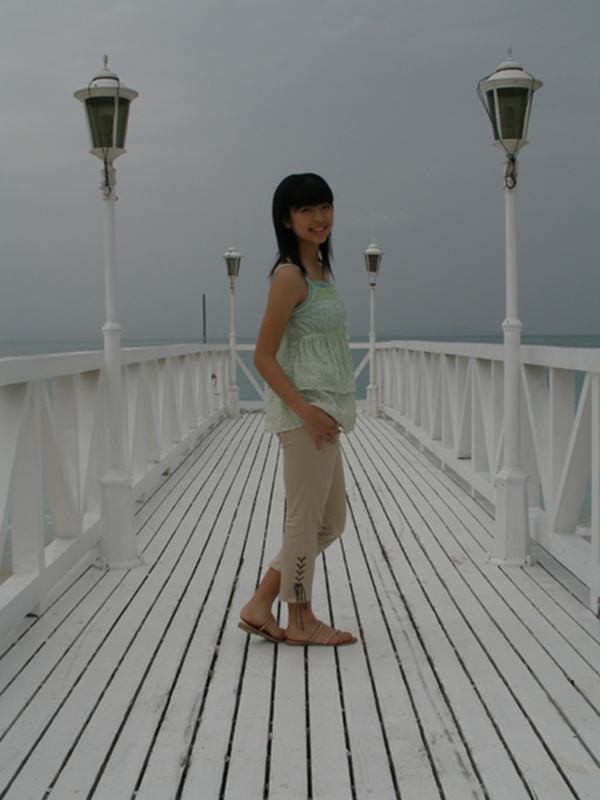
Film jsem obyčejně (c-41) vyvolal v kamarádově laboratoři a sám jsem ho na Epsonu V700 naskenoval. V případě obrázků, které pocházejí z filmu se snažím využívat úprav ve Photoshopu co nejméně. Ve svém týdnu na Week of Life jsem použil tak malý kontrast, aby fotky vypadaly jako paměti.
Myslíte si, že má klasický způsob zachycování paprsků světla na film v dnešní době ještě šanci na uplatnění?
Myslím si, že film má svůj vlastní charakter, pokud ho použijete, každá fotografie už má to své něco. S digitálem je to horší, musíte tomu dodat nějaký nápad nebo něco takového. Film je také lepší co se týče dynamického rozpětí, ale myslím si, že se to během několika let změní.

Přišel jste jako designér někdy do styku s dokumentární fotografií nebo se jedná o Váš první krok v konkrétním dokumentu?
Tři roky jsem si vedl vlastní fotografický deník. Week of Life je po něm první dokument, do kterého jsem se zapojil, ale doufám, že toho bude více.
Nyní pracuji na velkém projektu o Olympijské vesnici, která se v Římě nachází v mém sousedství. Byla zde postavena pro olympijské hry roku1960 a já nyní pracuji na mnoha portrétech dřívějších obchodníků.
Jak jste se o projektu WoL dozvěděl a myslíte si, že mají lidé v dnešní uspěchané době chuť a čas dokumentovat svůj život podle přesných pravidel?
O projektu jsem se dozvěděl prostřednictvím emailu od slečny Nely. Myslím si, že 90% dokumentární fotografie byla především o tragédiích a utrpení lidí, kteří žijí v odlehlých oblastech. Doufám, že tento styl osobního dokumentování bude v budoucnosti běžnější.
Zvětšoval jste někdy fotografie Vy sám?
Zatím ne. Chtěl bych se to naučit, ale černobílá mne až tak moc neoslovuje, takže to u mne není na prvním místě mezi tím, co se chci naučit.

Kterým směrem si myslíte, že se bude ubírat světová dokumentární fotografie v době, kdy se ve Photoshopu dají vytvářet v podstatě jakékoli scenérie?
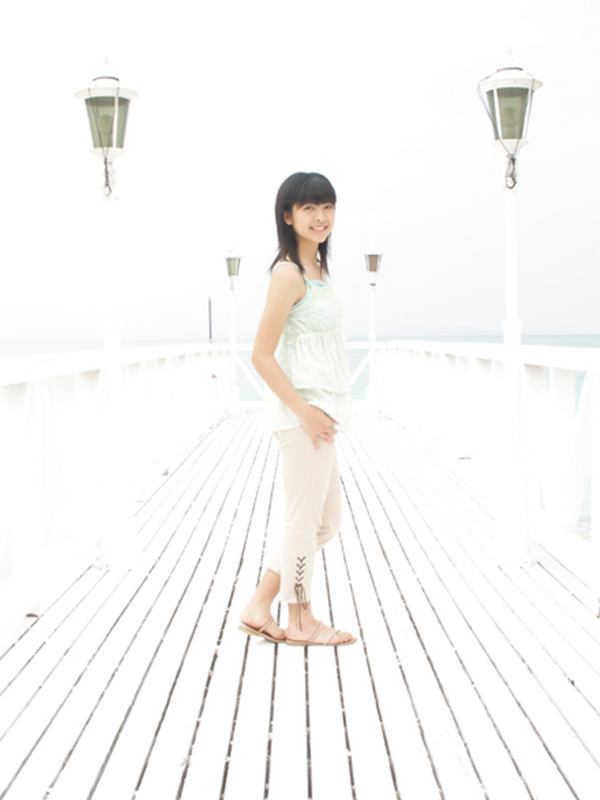
Věřím, že Photoshop může být velice užitečným nástrojem do té míry, aby napomohl vyjádřit, co je už na fotografii zobrazeno. Fotografie vytváří něco, co je odlišné od reality, něco mezi skutečností a tím, jak ji fotograf vnímá. I velice roztržitý fotograf může nafotit smysluplnou fotografii. Čím více upravujete obrázky ve Photoshopu, tím více se přibližujete vaší představě a vzdalujete se od skutečnosti.

Týdny Federica Ciamei