Useful Tips – Pictures of children

When you take pictures of children or places where children play, try to take the picture from a height that is level with the child’s eyes and not from above.    

Pictures of children

Useful Tips – Take pictures of children from their eye level

When you take pictures of children or places where children play, try to take the picture from a height that is level with the child’s eyes and not from above. If you take the picture from an adult’s eye level, the picture will be looking down, showing mostly children’s heads and not really showing their facial expressions. Also, since perspective is accentuated with the zoom at wide-angle (W), children’s heads will be emphasized and their bodies will look smaller than in reality. By squatting and taking the picture so as to have your eyes level with the child’s eyes you will get much better results.

Try different eye levels

Picture taken from the parent’s eye level
When the picture is taken from an adult’s eye level, the head is over-emphasized and it’s difficult to see the child’s expression. In addition, the ground appears as background resulting in a dull picture.


Picture taken from the child’s eye level

When the picture is taken so it is level with the child’s eyes, the facial expression comes out really well. Try squatting and taking the picture so as to have your eyes level with the child’s eyes.


Picture taken from a height lower than the child’s eye level
From time to time, try taking the picture from even a lower height. Since the perspective is accentuated with the zoom at wide-angle (W), the legs will seem longer giving the child a taller, more slender figure. Compact digital cameras are light and small enough to make it easy to take pictures from very close to the ground without using the viewfinder.


Useful Tips – Auto Bracket

When shooting pictures, it is often difficult to decide what exposure setting should be used. One big advantage of digital cameras is that you can delete unwanted pictures after a shooting session. Therefore, it is recommended that you take extra pictures with various exposure settings. In such a case, the BKT (Auto Bracket) function – if your camera supports it – will come in handy.    

Auto Bracket

Useful Tips – Auto Bracket

When shooting pictures, it is often difficult to decide what exposure setting should be used. One big advantage of digital cameras is that you can delete unwanted pictures after a shooting session. Therefore, it is recommended that you take extra pictures with various exposure settings. In such a case, the BKT (Auto Bracket) function – if your camera supports it – will come in handy. BKT is a function that allows you to take successive pictures while gradually changing the amount of exposure compensation. You can shoot as many pictures as required simply by keeping the shutter button pressed.

In most camera models, BKT is located within [DRIVE] mode in the menu. You can set the amount of change in the exposure compensation and the number of pictures that will be taken.

* This is the menu screen of SP-500UZ.

To shoot, simply continue pressing the shutter button. Pictures will be recorded in the following order: If you let go of the shutter button in the middle of auto bracketing, the pictures that have been shot up to that point will be recorded.

The pictures will be recorded from left to right, in the following order:
[BKT] Correction value: 1.0 / Number of pictures: 5

±0 +2.0 +1.0 -1.0  -2.0

The pictures will be recorded from left to right, in the following order:
[BKT] Correction value: 1.0 / Number of pictures: 5

+2.0 +1.0 ±0 -1.0  -2.0

Useful Tips – Exposure compensation or flash

When shooting pictures indoors or in a dimly lit location, you need to change the camera setting so that the subject will be adequately illuminated. Methods using exposure compensation or flash are available. Which option you should use will differ depending on the picture subject and the conditions for taking the picture.    

Exposure compensation

Useful Tips – Exposure compensation or flash

When shooting pictures indoors or in a dimly lit location, you need to change the camera setting so that the subject will be adequately illuminated. Methods using exposure compensation or flash are available. Which option you should use will differ depending on the picture subject and the conditions for taking the picture. It is easy to use the flash to illuminate a subject. However, when you use the flash, pictures may seem unnatural since the flash eliminates ambient lighting conditions. By contrast, using exposure compensation preserves the ambient lighting, which results in a more natural-looking picture. However, the shutter speed may drop, making it more likely for subject or camera movement blur to occur. If you are in a situation where blurring may occur, you can increase the ISO sensitivity setting. Increasing the ISO sensitivity, however, may result in more noticeable noise. There is no definite answer as to which method is better, so it is probably best to take your pictures using both the flash and exposure compensation.

Compare these pictures taken with exposure compensation and flash


Shot using exposure compensation: The subject’s facial expression and the incoming light are adequately visible, but the bright areas in the background are overexposed. Shot using flash: The entire picture is nicely lit, but the interior/exterior brightness and the atmosphere of the interior lighting are not accurately reproduced.

ISM – I Shot Myself

What could be more inviting to make self-portraits than the very task of our Week of Life documentary. As you all certainly know, the project guidelines state that as the author you should always have the camera in your hand or at least set it yourself and shoot using the self-timer. This is why we eagerly looked forward to the choice of this topic, as we anticipated that the creativity would be endless. On the other hand we had to devote quite a lot of effort into it, especially because there really was a huge pile of photographs, and it was not at all easy to sort them and select the final 50, which we bring you here today. They are definitely not short on imagination and creativity, which is why comparing the different styles is quite entertaining. If you find that you don’t see photographs from rear and side automobile mirrors, be assured that in the near future these will be included in a separate topic category. So let’s look at how you see yourselves and how beautiful the self-portraits you’ve been able to create are.

Milan Rejholec, Student, Czech Republic

Miguel Apolinario, Photographer, Portugal

Stanislav Pokorný, Photographer, Czech Republic

Eva Mueller, Photographer, New York

Jiří Křenek, Photographer, Czech Republic

Federico Ciamei, Designer, Italy

Zdeněk Dvořák, Special education needs teacher, Czech Republic

Il Em, None, Slovakia

Stanislava Kopáčková, Model, Czech Republic

Petr Lindner, Editor-in-chief, Czech Republic

František Zíka, Skateboarder, Czech Republic

Alex Galmenau, Photographer, Romania

Jiří Heller, Photographer, Czech Republic

Martina Watzková, Student, Czech Republic

Miroslav Sanytrák, Consultant, Czech Republic

Michael Agel, Photographer, Germany

Lubomír Budný, Student, Czech Republic

Mojmír Gayer, Retired, Czech Republic

Stanko Abadzic, Teacher, Croatia

Rob Trnka, Photographer, Czech Republic

Hana Růžičková, Photographer, Czech Republic

Jiří Hrdlička, Technician, Czech Republic

Vincent Sagart, Designer, Washington, D.C.

Eva Staňková, Curator, Czech Republic

Adam Zíka, Student, Czech Republic

Veronika Souralová, Photographer, Czech Republic

Pasi Heiskanen, Web designer, Finland

Petr Schel, Sculptor, Czech Republic

Lucie Červinková, Student, Czech Republic

Nadya Domashneva, Designer, Samoa

Igor Faltus, Graphic designer, Czech Republic

Tereza z Davle, Photographer, Czech Republic

Radek Štumpauer, Welder, Czech Republic

Rick Minnich, Film director, Germany

Tomáš Vojta, Technician, Czech Republic

Marja Palosuo, Architect, Sweden

Ivo Hausner, Photographer, Czech Republic

Martina Pavlíková, Marketing director, Slovakia

Gabriela Gernat Ksandr, Photographer, Germany

Irena Bucharová, Project co-ordinator, Czech Republic

Peter Hájek, Pharmacist, Czech Republic

coswig, Student, Utah

Vladimír Brunton, Photographer, Czech Republic

Marta Duchoslavová, Physiotherapist, Czech Republic

Přemysl Čech, Student, Czech Republic

Carina Sundqvist, Producer, Sweden

Eva Durčáková, Parental leave, France

Ctibor Košťál, Photographer, Czech Republic

Taking Pictures of People – Night Scene

When taking pictures of a combination of people and a night scene, you need to use the flash to illuminate the people and also set a slow shutter speed to get a good picture of the night scene.    

Foto kurzy

Taking Pictures of People – Night Scene

Use [SCENE] (Night & Portrait) for slow synchronization photography

When taking pictures of night scenes that include people, using the flash in the Program Auto(P) mode will illuminate the person but the night scene will appear completely black. To avoid this, illuminate the person with the flash, and use a slow shutter speed for the night scene. This method of photography is known as slow synchronization shooting. You can take beautiful pictures using slow synchronization shooting just by setting [SCENE] to [NIGHT+PORTRAIT]. If your camera does not have the [NIGHT+PORTRAIT] setting, try taking pictures by setting the flash mode to slow synchronization.

Compare the effects of Slow Synchronization photography and the regular Program Auto mode

   
Picture taken using the flash in
Program Auto mode
Picture taken with [SCENE] (Night + Portrait): The shutter speed is a bit too slow resulting in camera blur Picture taken with [SCENE] (Night + Portrait). A cross filter was used


Useful things to remember

  • To shoot night scenery, the shutter must remain open after the flash has gone off. Be sure to tell the subject in advance not to move until the shutter closes.
  • With slow synchronization photography, images are more likely to show blurring since the shutter speed is slower. Stabilize the camera by using a tripod or other similar equipment.
  • If there is a long distance between the camera and the subject, the light of the flash may not reach the subject. Have the subject stand closer to the camera.
  • It may be harder to focus if the subject is in a completely dark location. If it is hard to focus, have the subject stand in a brighter location.
  • To further enhance night scenes, try using a cross filter or a similar filter. Although it may not be possible to attach filters to some cameras, filters can be just as effective if you hold them in front of the lens with your hand.

Taking Pictures of People – Indoors 2

When you take snapshots of children or souvenir pictures you surely want to capture great smiles. But timing the shot to the exact moment of someone smiling is not easy.    

Photo courses

Taking Pictures of People – Indoors 2

Use the [SCENE] mode’s [SMILE SHOT]
In [SMILE SHOT] mode, the AF mode is set to [FACE DETECT AF] so the camera will automatically detect faces within the frame and track them while keeping the focus on the faces. When a face is detected, a green frame will be displayed around it. The camera looks for changes in the facial expression to detect smiles. The camera may also take the picture when there’s a large change in the facial expression, even if it is not a smile. The camera shoots automatically 3 frames at a time. The record mode is automatically changed to a slightly smaller image size.

       
After you point the camera at the subject, the camera will display a green frame when it detects a face. When the subject smiles, a sequence of 3 pictures is shot automatically. No need to press the shutter button.

Try shooting all kind of pictures using the [SMILE SHOT] function


 * Note that the camera shoots the picture when there is a change in the facial expression. A picture may be shot even if the subject is not smiling.

Useful things to remember

  • If the location of the face is moving within the frame, it may not be detected correctly. Try, as much as possible, to have the subject and the camera not move.
  • If your camera does not have the [SMILE SHOT] function, try taking pictures setting [DRIVE] to sequential shooting. If your camera has the high-speed sequential shooting drive mode, you can use sequential shooting and not miss any changes in the facial expression.

Back to the Future with Federico Ciamei

Federico Ciamei, Designer, Italy

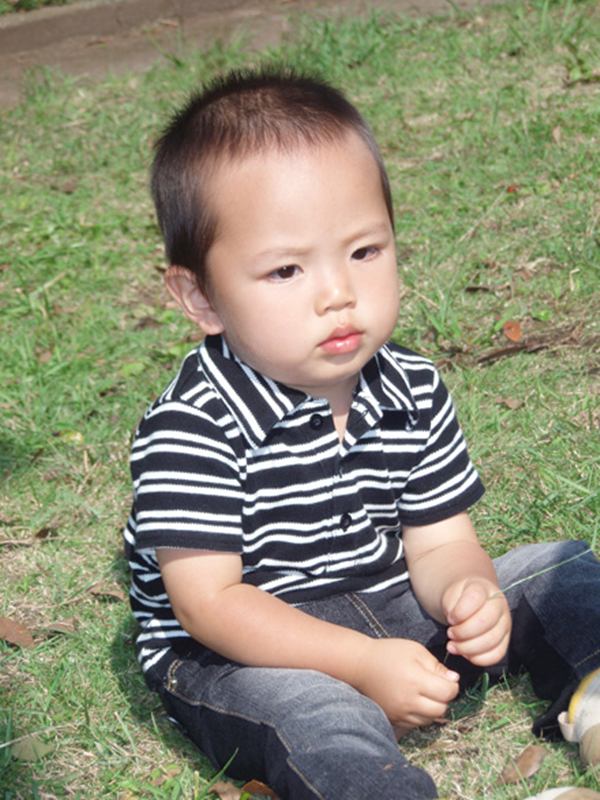
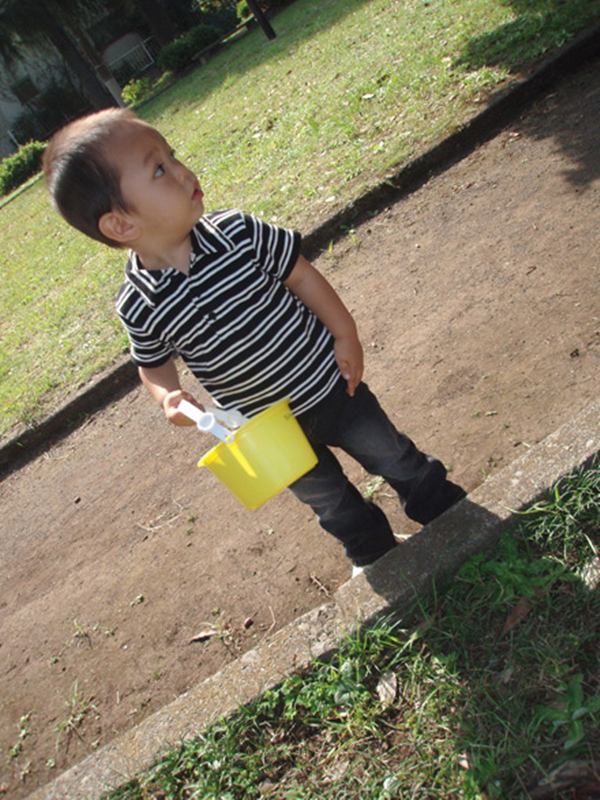
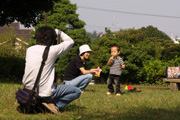
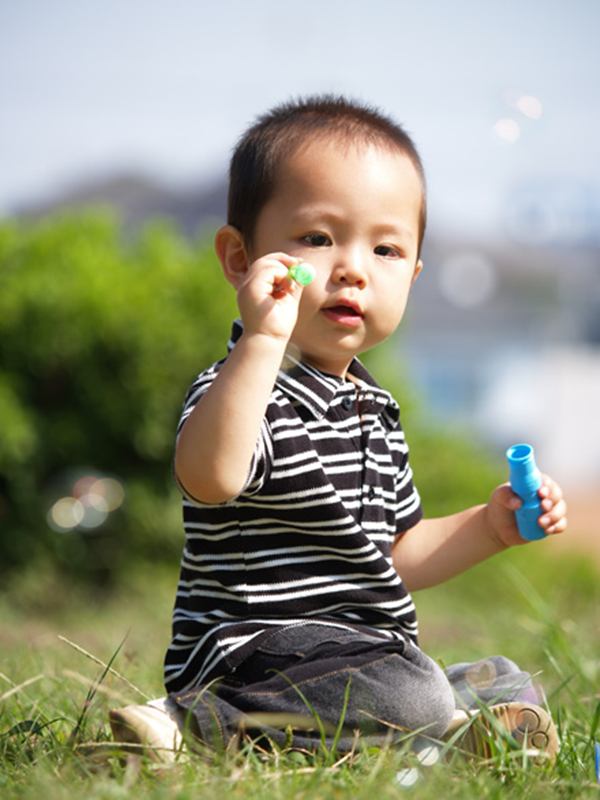
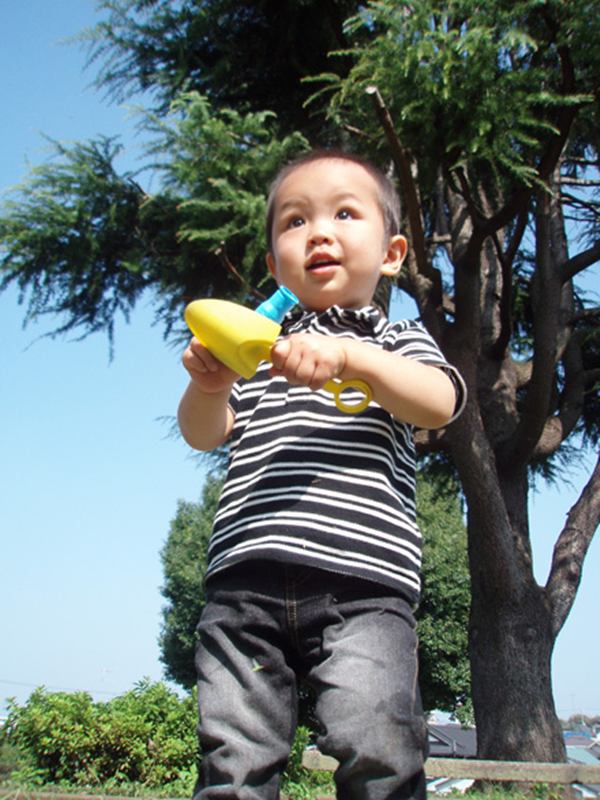
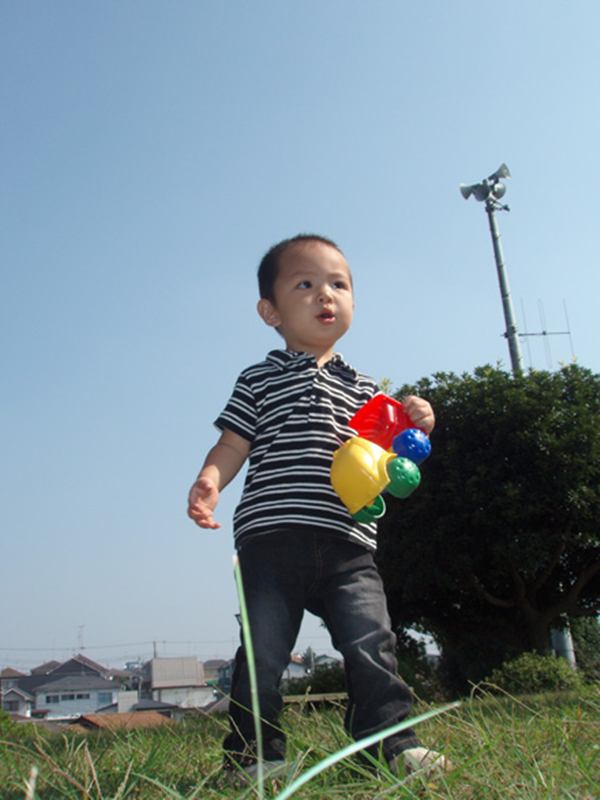
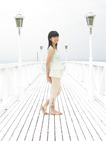
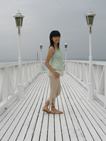
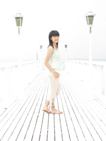
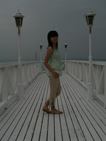
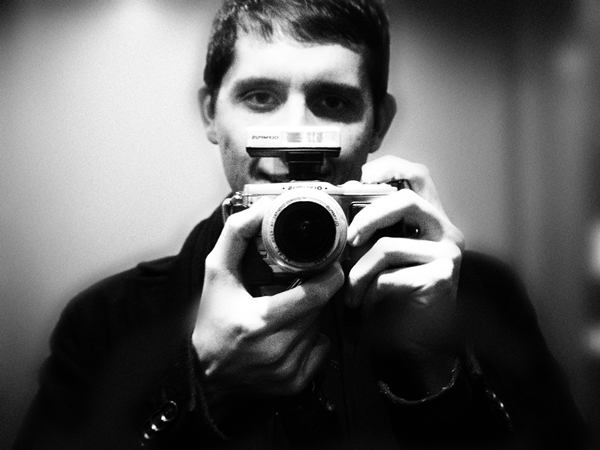
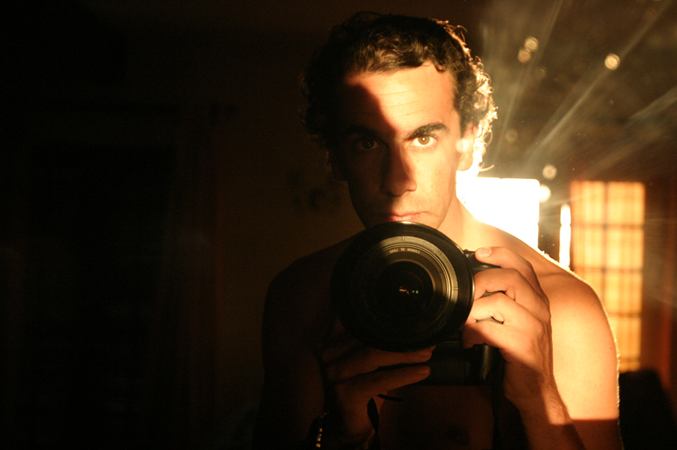
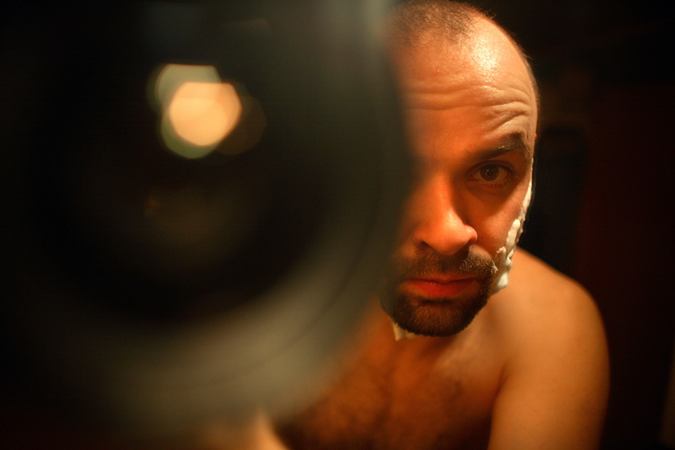
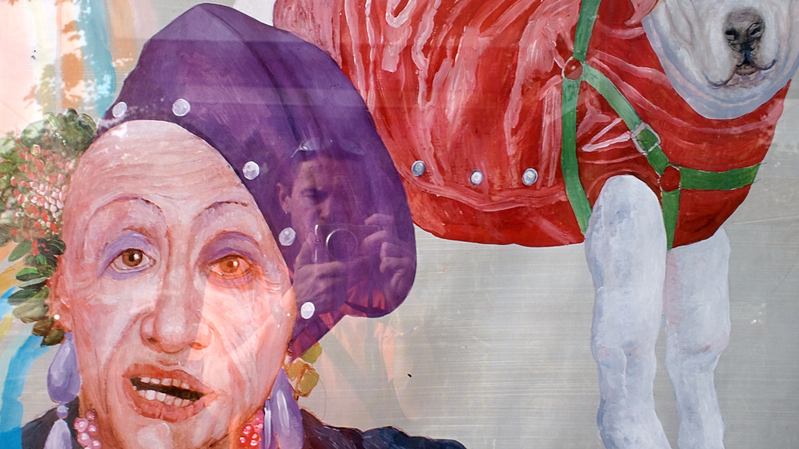
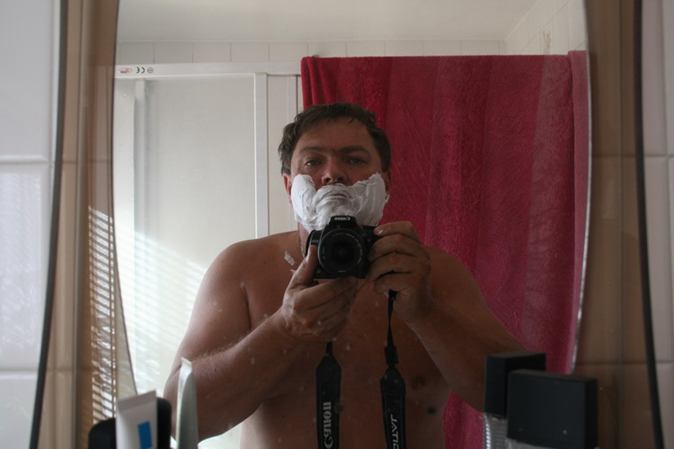
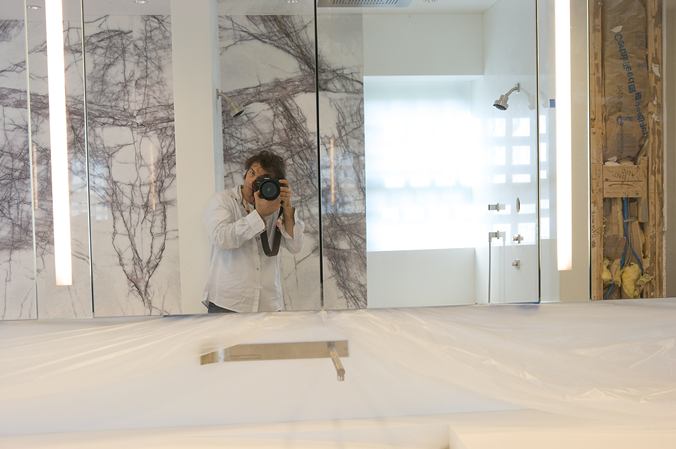
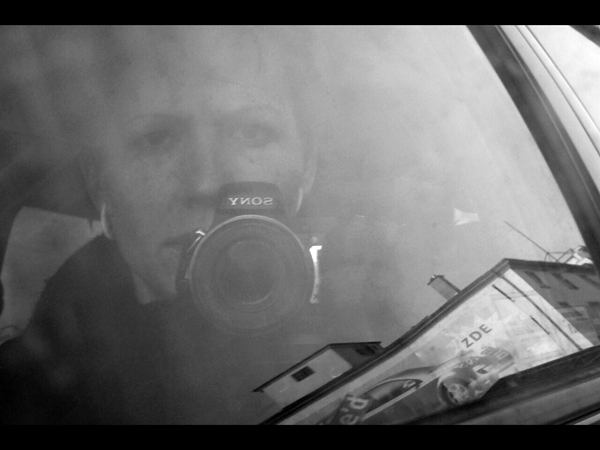
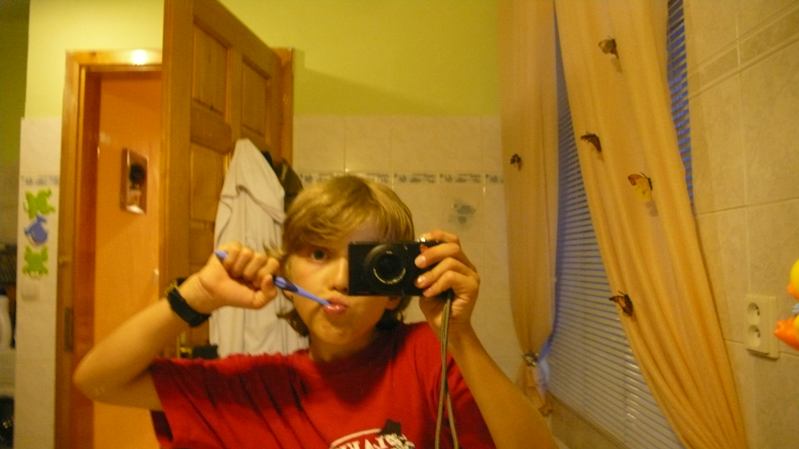
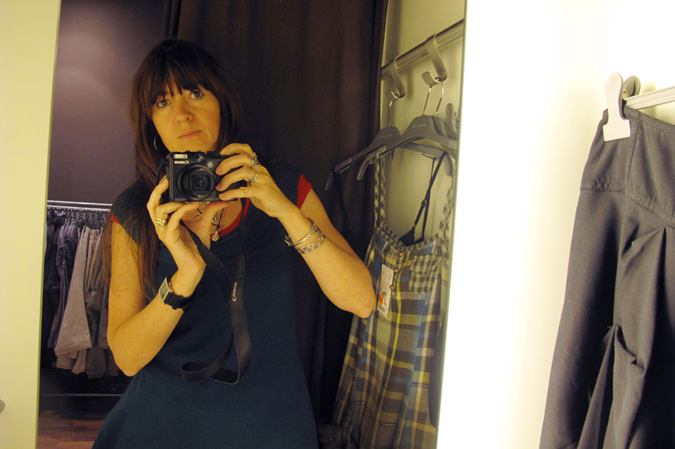
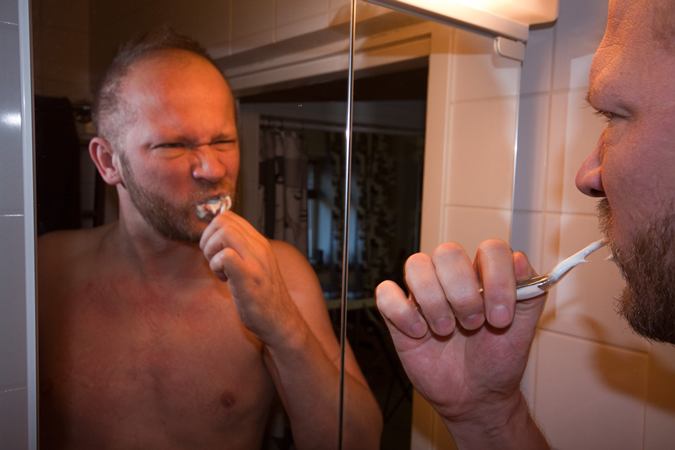
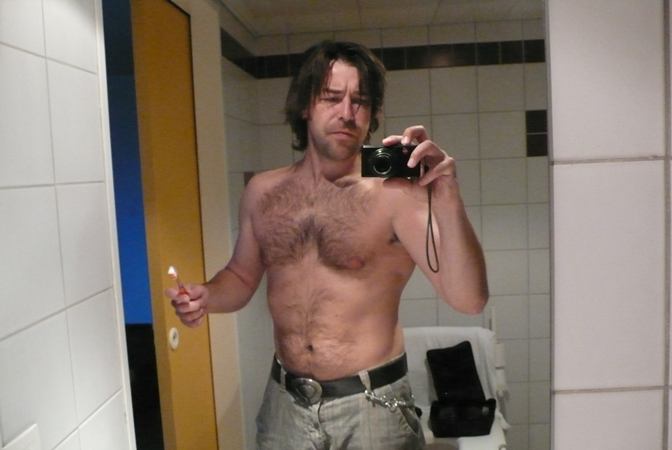
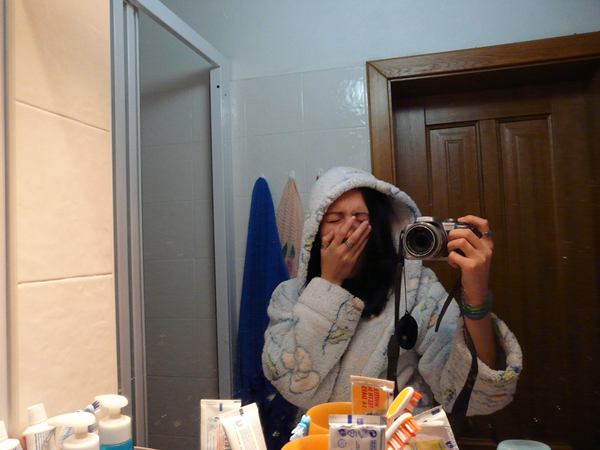
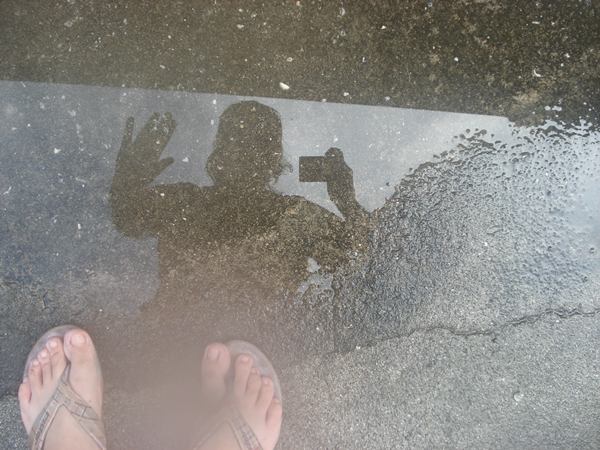
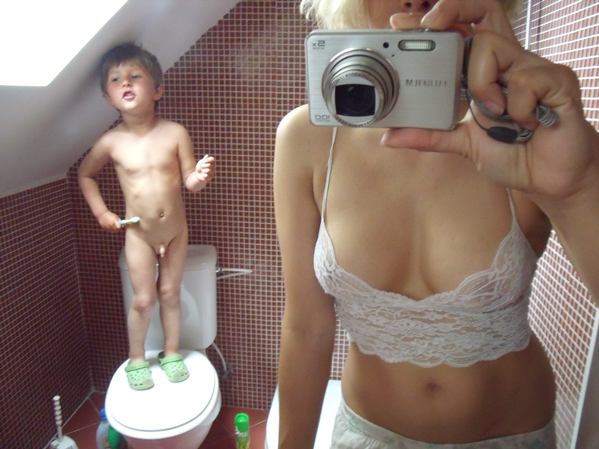
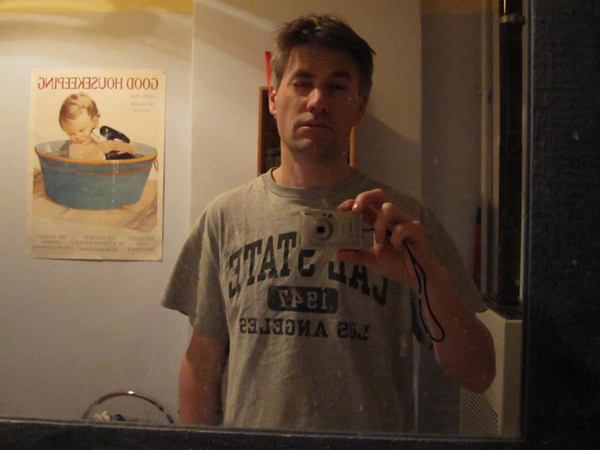
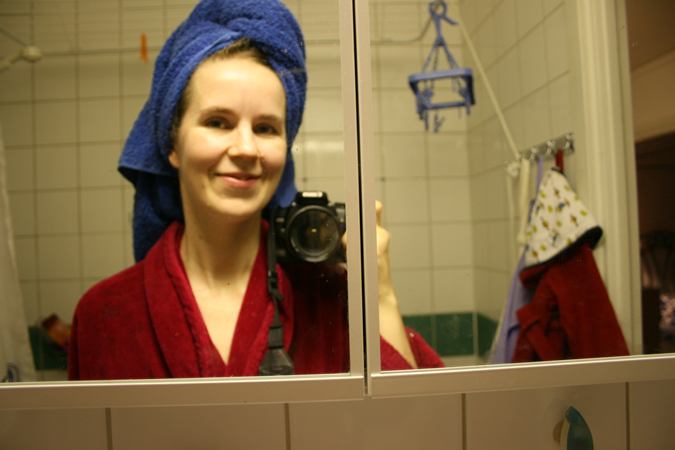
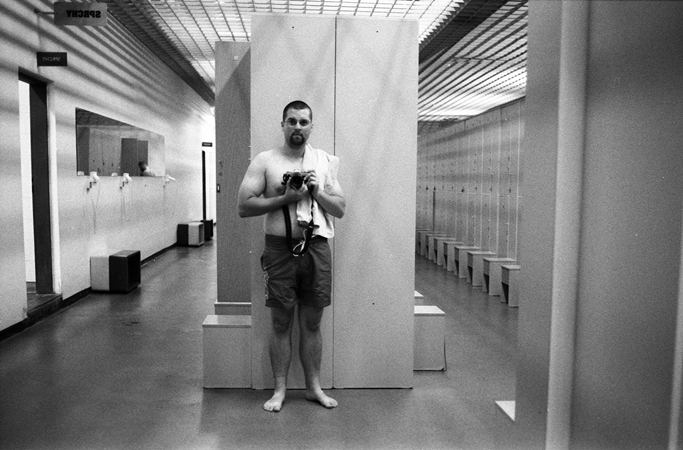
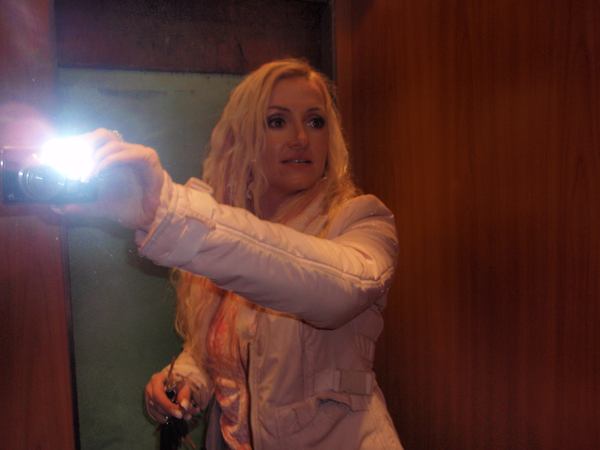
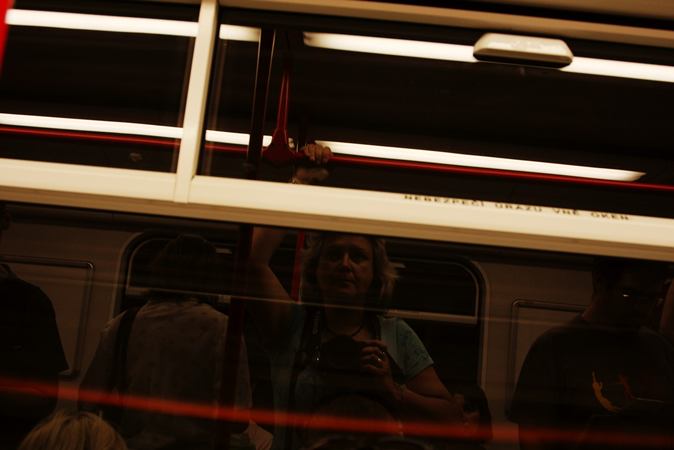
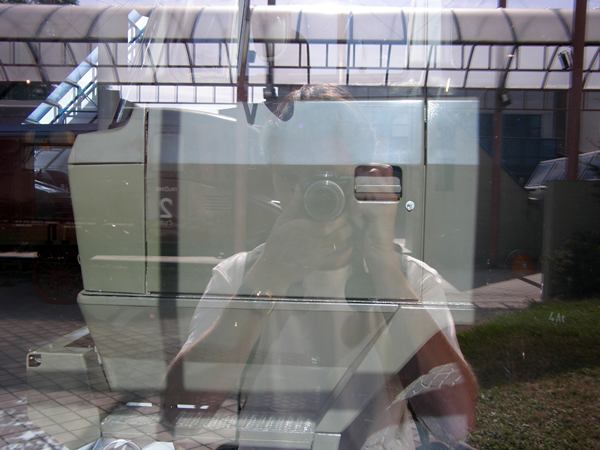
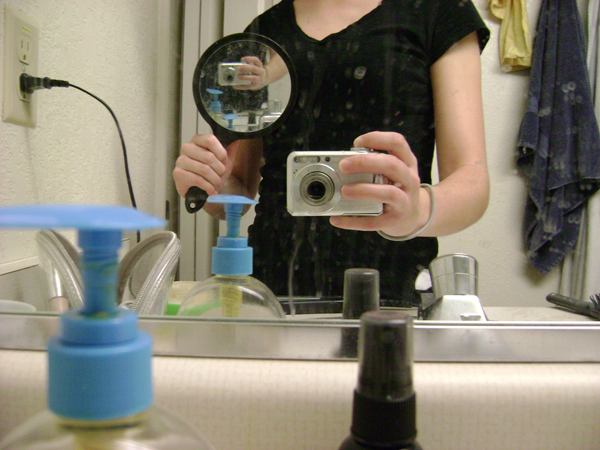
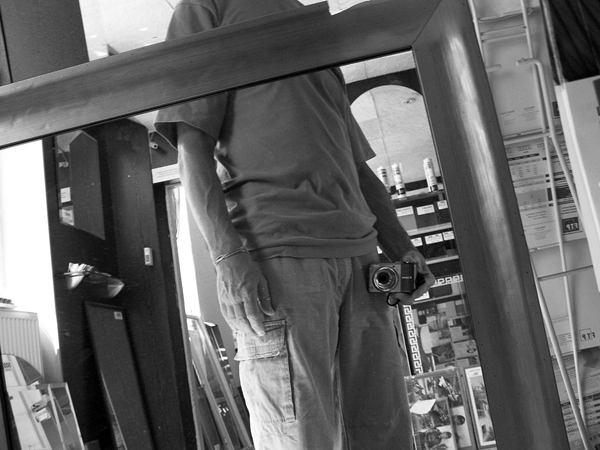
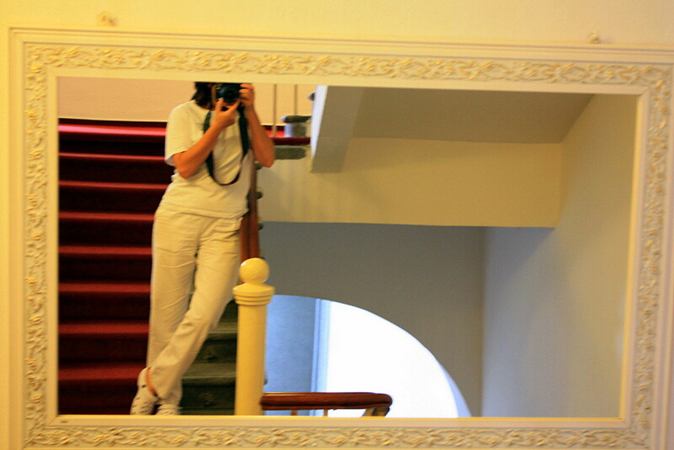
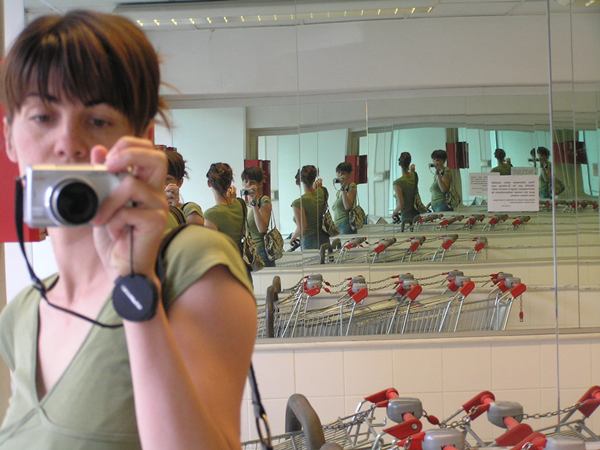
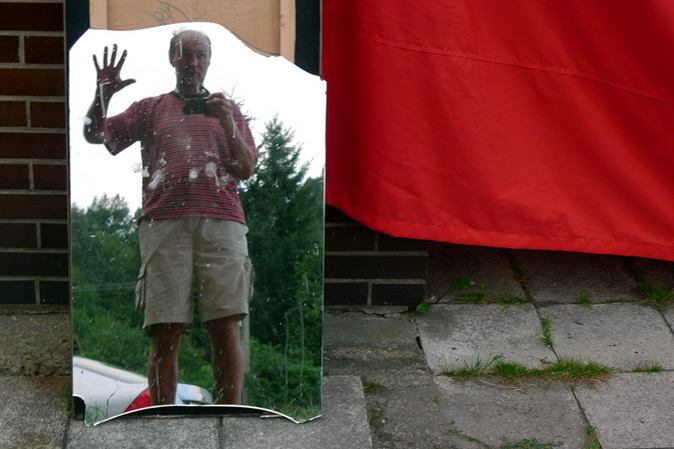
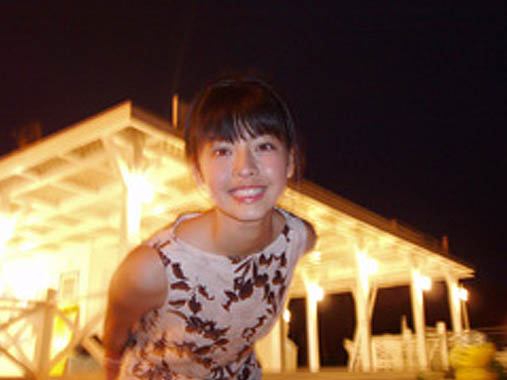
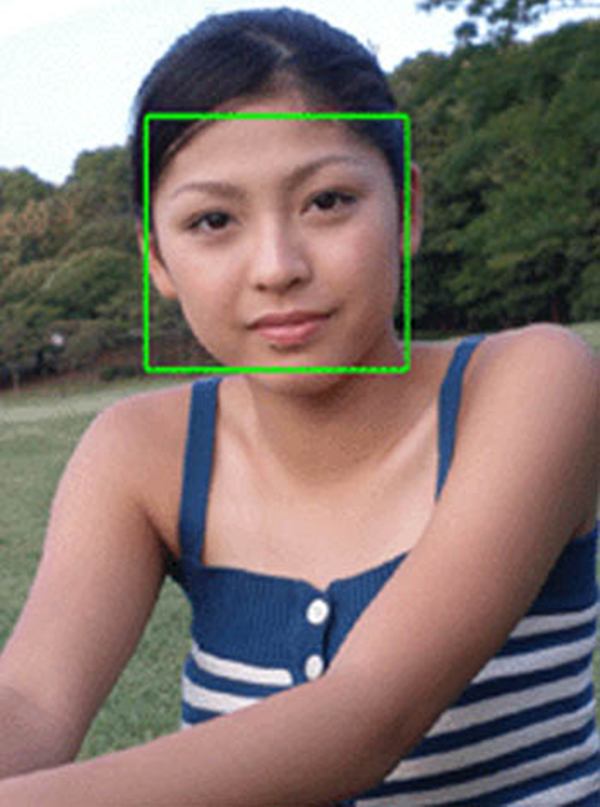
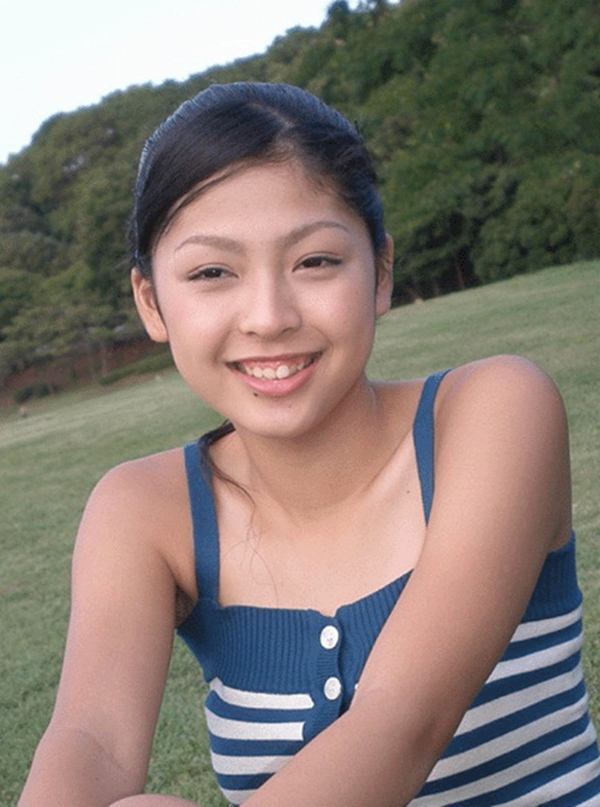
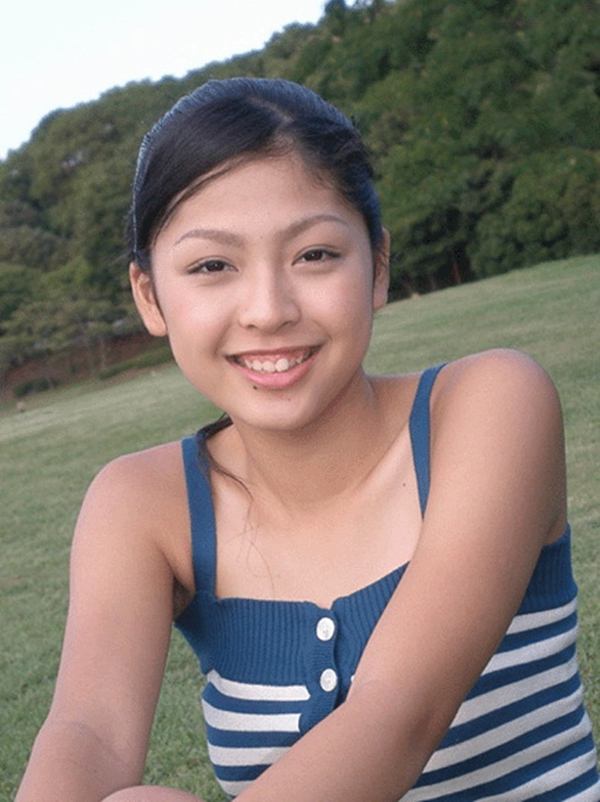
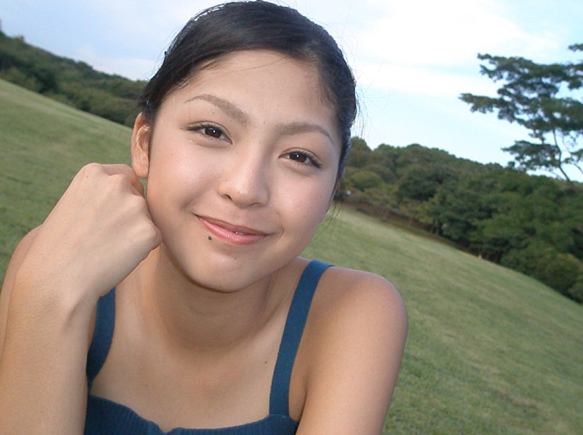
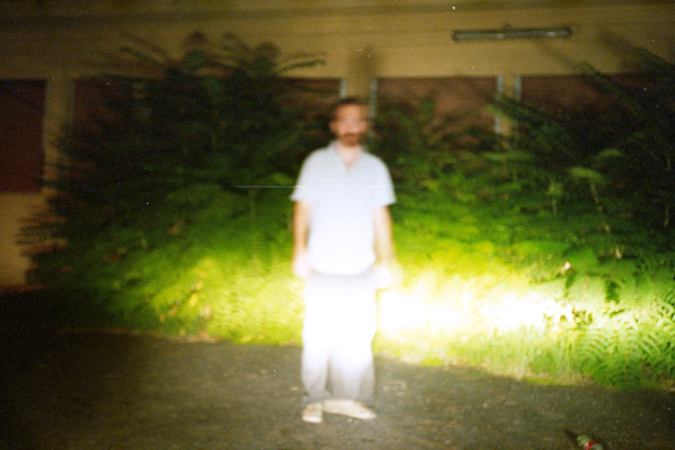
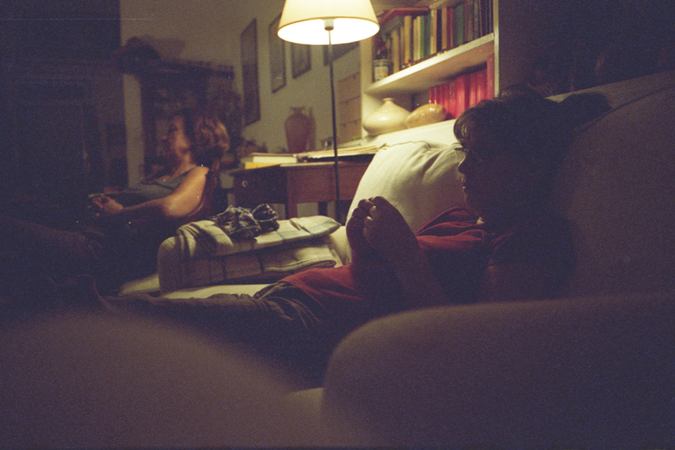
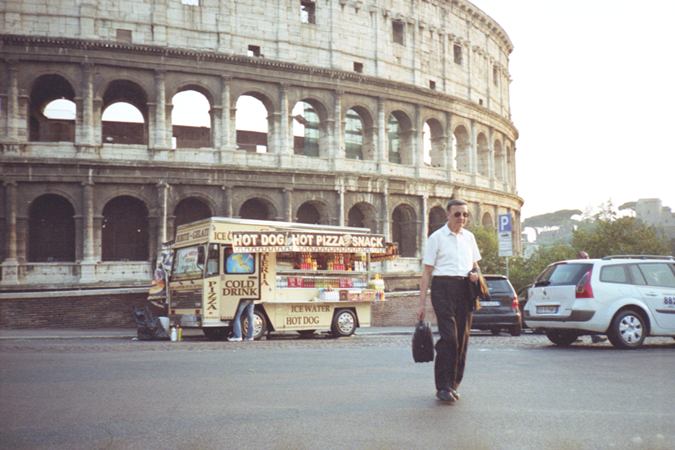
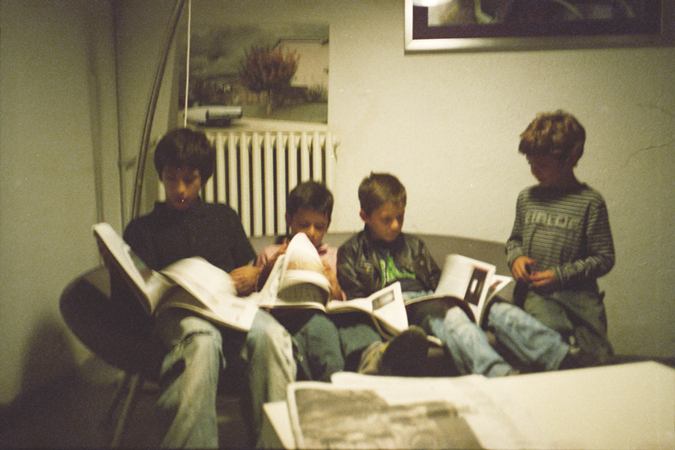
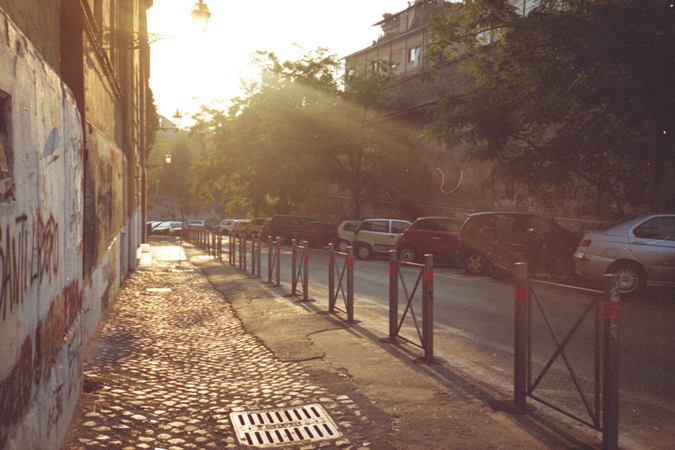
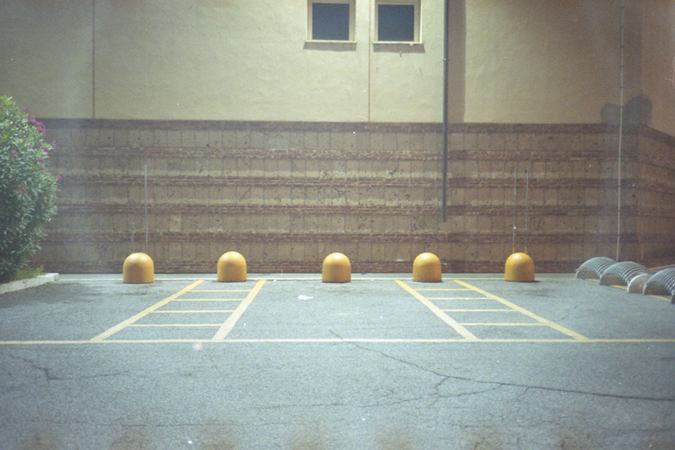
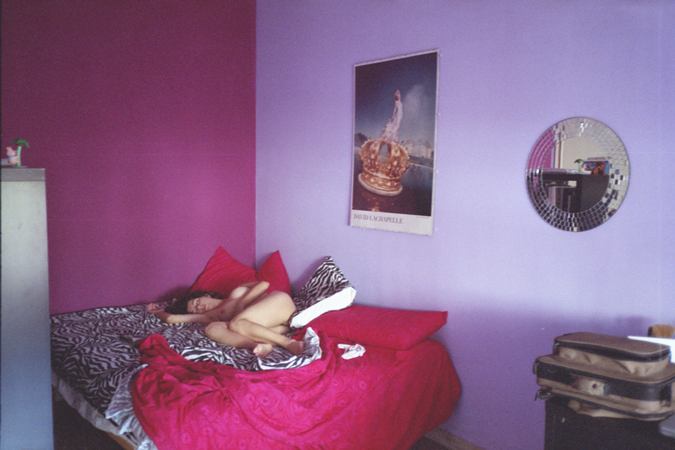
When Italian designer Federico Ciamei’s week arrived a few months ago, time stood still for a while in the editor’s office. Everyone, even the experts, gathered round to look at the photographs. Holding their breath, they stared at the computer monitor in silence. In the first seconds, and even minutes, it was not at all clear that it wasn’t a fake set composed of color photographs from the 70s or 80s or new photographs of the lowest technical quality or an instigation targeted at top quality digital devices able to produce ultra sharp and quality images. None of this turned out to be true. This, I dare say, artist’s documentary concept was absolutely exceptional. It worked with the atmosphere of the scene more than with anything else that the digital world offers today! Color de-saturated images with frequent artistic exposure error but deliberately selected and composed to directly pull us into the action were exposed on negatives and had undergone a chemical process (C41), which most likely means nothing to anyone anymore. Thus, let’s go ‚back to the future‘.

Your week is completely different from everything else on Week of Life. In particular, this is because of the specific way the photos were made. It makes your week a matter of art. What led you to do it this way?

I was first attracted to photography when I was a teenager, using my dad’s 35mm reflex. But then computers and the internet came out and I was immediately deeply into it: BBS, ASCII drawings, AT commands, and then the Web, graphic design, html, flash. With a friend, I started one of the first web design companies in Italy and I forgot photography until digital cameras started to become more common. I bought an Olympus Camedia that can save pictures on a floppy disk and was in love again. I created my photoblog (http://federicociamei.it/fotodiario/) in 2003 and went on posting photos till 2006, when flickr and other photo networks started to become more common.
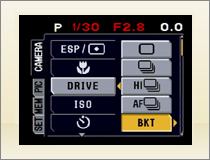
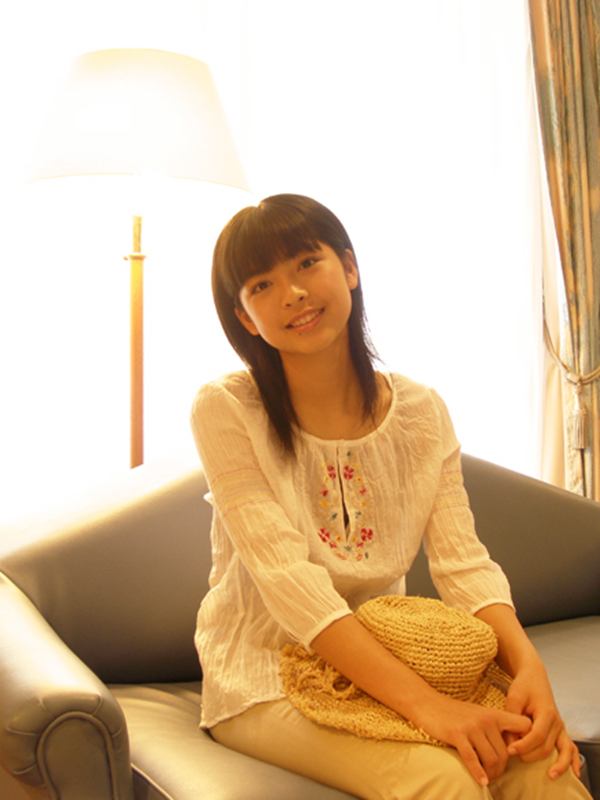
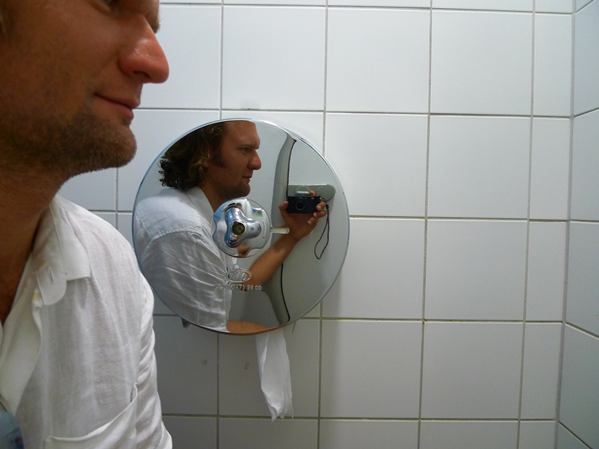
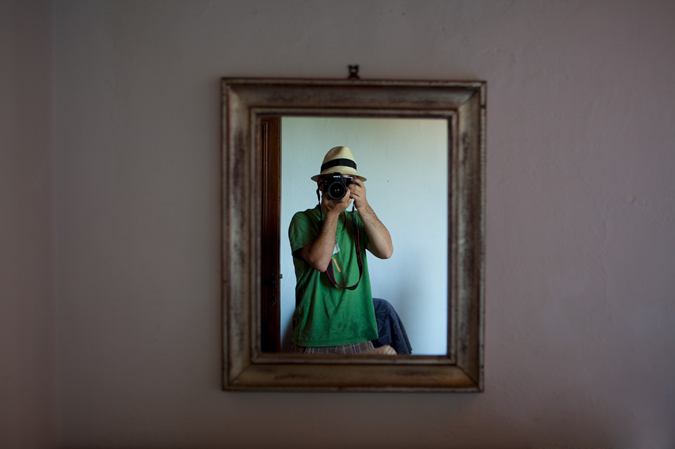
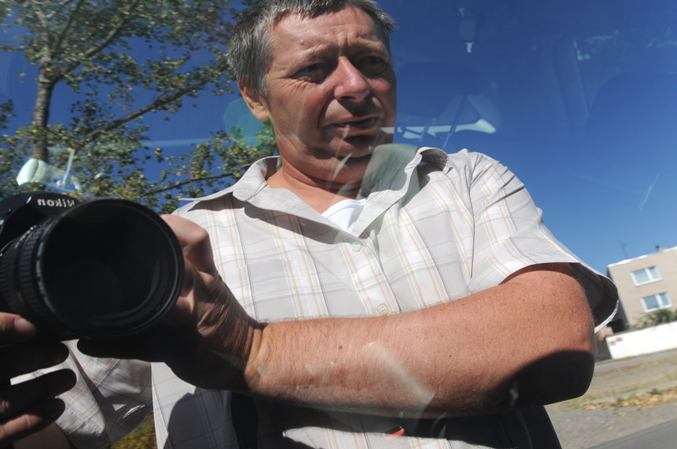
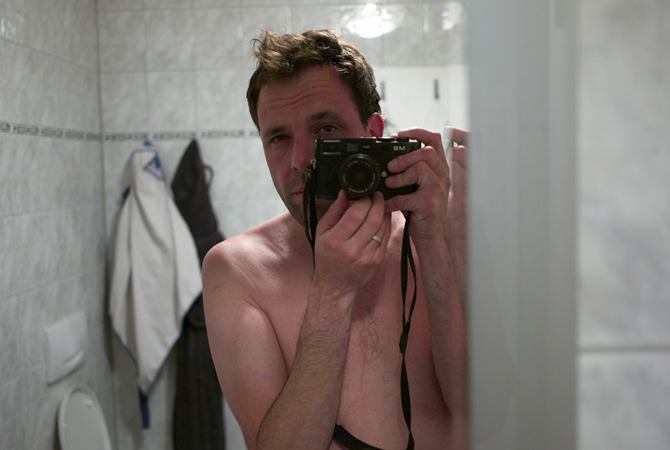
Now I’m exploring film cameras, 35mm and medium formats. My favorites now are the Yashica T5, that is also the camera I used for my week of life, because it is really small and sharp, and the Fuji 645ga. I’m also working with a Mamiya 7 now but it’s too early to talk about it. John Szarkowski wrote in the introduction of Eggleston’s Guide that photography is a system of visual editing. I think that working with film cameras forces me to narrow my editing, and this is really good for me.

You state in your profile that you’re a designer. Your sense of art is evident from your photos. Could you tell us what do you design?

I started working about ten years ago as a web designer. I was in love with the work of the Designer’s Republic, Mike Patterson, Yugo Nakamura and all the design superstars of those years. I’ve done a lot of really different things, from music videos (http://www.youtube.com/watch?v=RDdc4WPY_SY) to to interactive installations at the Valencia Biennal of Art.

I like the process of design, but photography works better for me. I like some details to be left undetermined and out of my control and I’m also tired of always staying in front of the computer screen. So now I’m slowly changing my work, trying to make my old clients hire me to take photos as well.

How do you treat and scan your photographs? Do you do additional editing after scanning them?

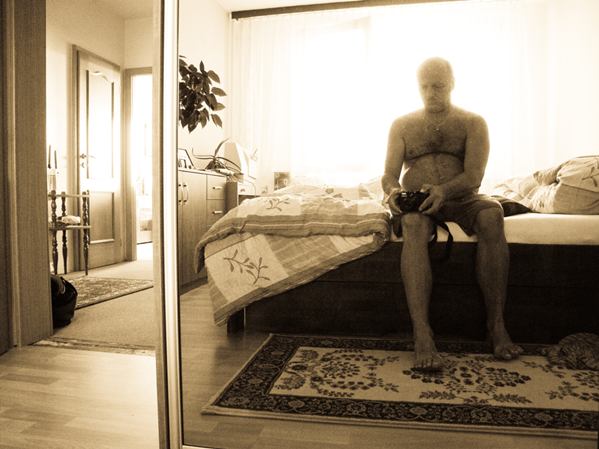
I have my film developed normally (c-41) in a friend’s lab and I scan it myself with an epson v700. I try to keep photoshopping at a minimum when an image comes from film. In my week of life I left the contrast so low, to make the images look more like memories.

Do you think that the classical method of capturing rays of light on film still has a chance in today’s world?

I think that film has its own personality: when you use it every photo has something. With digital its harder, you must add a special idea or something else. Film is also superior in terms of dynamic range, but I think this is going to change in not too many years.

Have you ever been involved in documentary photography or is this your first contact with a specific documentary?

I kept a personal photo diary for about three years. After that Week of life is one of the first documentaries I’ve been in contact with, but I hope I will be able to do more. I’m currently working on a big project about the Villaggio Olimpico, a neighborhood in Rome built for the 1960 Olympic games, and I’m taking a lot of portraits of old shopkeepers.

How did you learn about the Week of Life project and do you think that nowadays, in such a hurried time, people are willing to document their lives under the given conditions?

You wrote an email me about it 🙂 I think that since today 90% of documentary photography has been about tragedies and suffering people in remote countries, I hope this kind of personal documentary will become more common in the near future.

Have you ever enlarged your photographs yourself?

Not yet. I want to learn but black and white doesn’t attracts me very much, so it’s not at the top of my „things to learn“ list.

Where do you think documentary photography will go at a time when Photoshop gives us a possibility to create almost any scene?

I think that photoshop can be a really useful tool as long as its use is limited to help expressing what is already in the image. A photo creates something that is different from the reality, in between the thing and the photographer’s perception of it. You can be a very absent minded photographer and yet record a meaningful photo. The more you photoshop an image the more it becomes closer to your idea and distant from the thing.

Weeks of Federico Ciamei

Taking Pictures of People – Outdoors

When you take pictures of people, especially women, it is important to take an attractive portrait. Depending on the shooting conditions, it may be difficult to get exactly the picture you have in mind..    

Phot courses

Taking Pictures of People – Outdoors

Use the exposure compensation to make the subject brighter

When taking portraits of women, a brighter picture gives a fresh feel to the portrait. To get a brighter picture, adjust the exposure compensation towards the [+]. Although you can use a flash to illuminate the subject, the results sometimes seem unnatural and it is not easy to achieve the effects you want from the flash. Exposure compensation may get better results.

Compare the effects of different values of exposure compensation on the feel of the picture

          
Exposure compensation at -2.0 Exposure compensation at -1.0
No exposure compensation Exposure compensation at +2.0

Useful things to remember

  • When you take pictures of people or moving objects, you may miss the perfect moment if you adjust the exposure compensation every time you take a picture. In this type of situation, the auto bracketing function comes in handy.
  • If you compensate to make the picture lighter, be sure not to overexpose areas such as the subject’s face. On some models you can check for overexposure on the playback display after taking a picture, and other models allow you to check the white balance using a histogram while taking pictures.

Taking Pictures of People – Idoors 1

Close to windows where the light shines in, the light from the outside is brighter than the light inside. A picture taken in this type of setting will result in the subject appearing silhouetted.    

Photo courses

Taking Pictures of People – Idoors 1

Set the flash to flash off to bring out the atmosphere of a room
Close to windows where the light shines in, the light from the outside is brighter than the light inside. A picture taken in this type of setting will result in the subject appearing silhouetted. Using the flash illuminates the subject. However, there are times when this causes the picture to seem unnatural, with the subject appearing too bright or a deep shadow appearing in the background. In such cases, set the flash to flash off and adjust the brightness with the exposure compensation to take the picture.

Compare the effects of the flash on the feel of the picture

     
Picture taken without flash Picture taken using the flash   Exposure compensation at +2.0

Useful things to remember

  • When taking pictures of people without the flash results in the subject’s face appearing dark, set the exposure compensation more towards the [+].
  • You can try to adjust the white balance to [AUTO] or according to the type of lighting, or to take multiple pictures using various white balance settings.

Taking Pictures of People – Groups

One common mistake of pictures that include people and scenery is that the people are too far from the camera. When the people are too far, it’s difficult to recognize who is the person in the picture.    

Photo courses

Taking Pictures of People – Groups

Set [SCENE] to Landscape+Portrait
Leave the cameras settings to the [SCENE] mode and simply concentrate on the composition of the picture. One common mistake of pictures that include people and scenery is that the people are too far from the camera. When the people are too far, it’s difficult to recognize who is the person in the picture. By contrast, even if the people are close enough, if the background is too far, it’s difficult to understand the whole circumstances of the picture. To get a good balance between the people and the background, first position the camera in such a way that the background appears at a suitable size. Then let the people come in at an appropriate distance from the camera. Then you can change the balance between the people and the background by having them com closer to the camera. By zooming out (W) with the camera, you can make it easier to take a clear picture of both, the people and the background.

Common mistakes of pictures including people and scenery.

     
Both, the people and background are too small The people are the right size but the background is too far and too small   The people in the front hide the background

Useful things to remember

  • When shooting a group picture, you can set the AF mode to [SPOT] to make it easier to focus exactly on the subject you want. When the camera is fixed to a tripod it is convenient to use [AREA], but with camera models that don’t have this function use the focus lock instead.
  • When the camera is fixed to a tripod you can use the self-timer to avoid camera blur. You can also use the remote control with camera models that have this function.